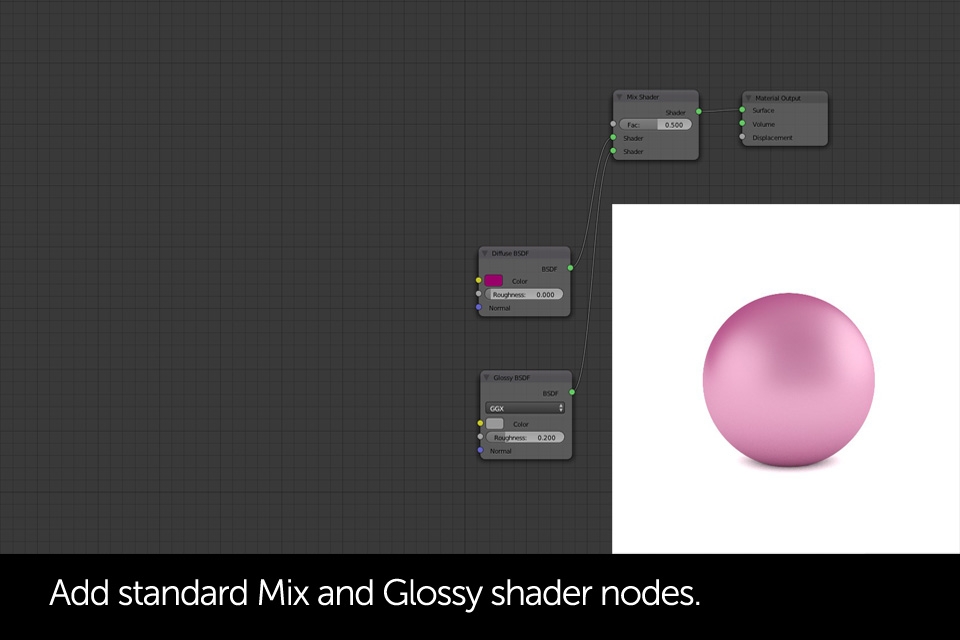
This tutorial part will consist of step by step guides on how to create the most common and widely used node setups for Cycles.
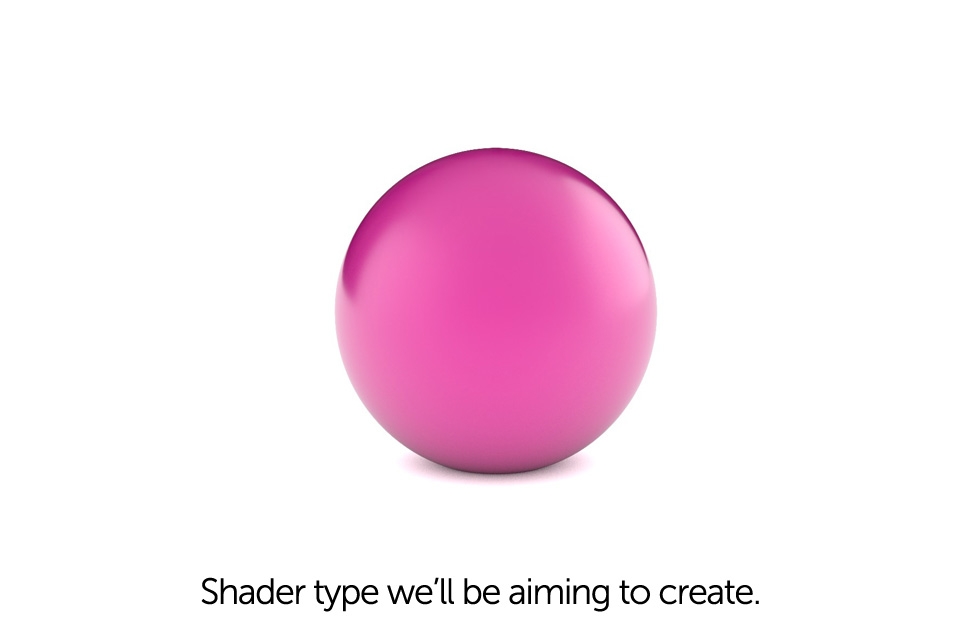
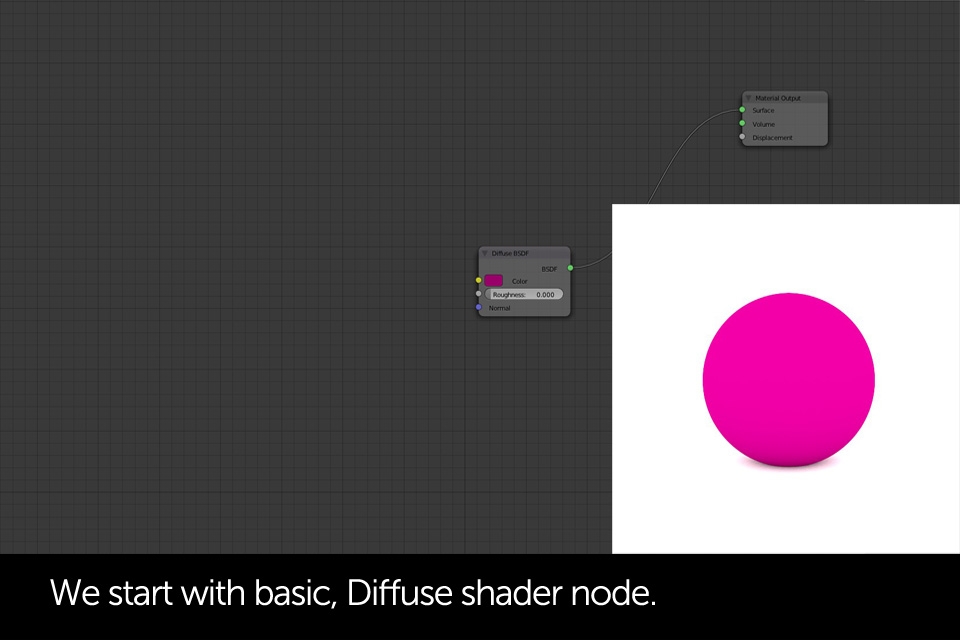
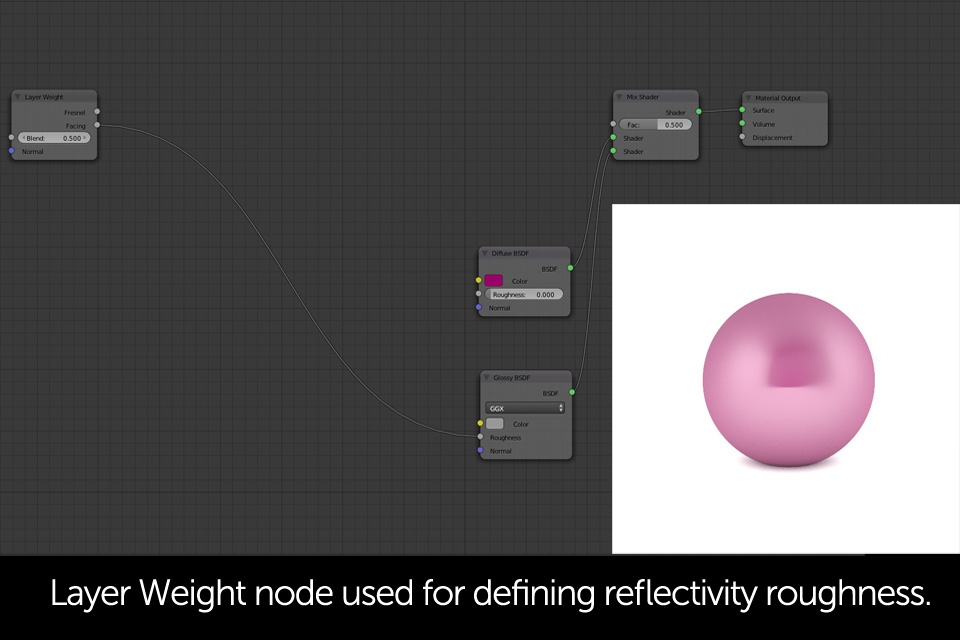
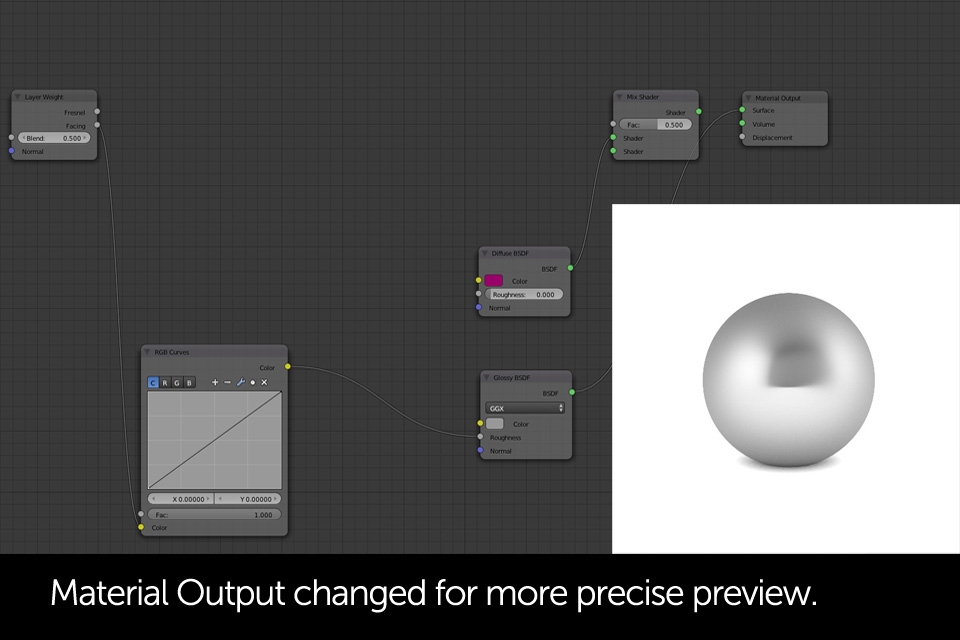
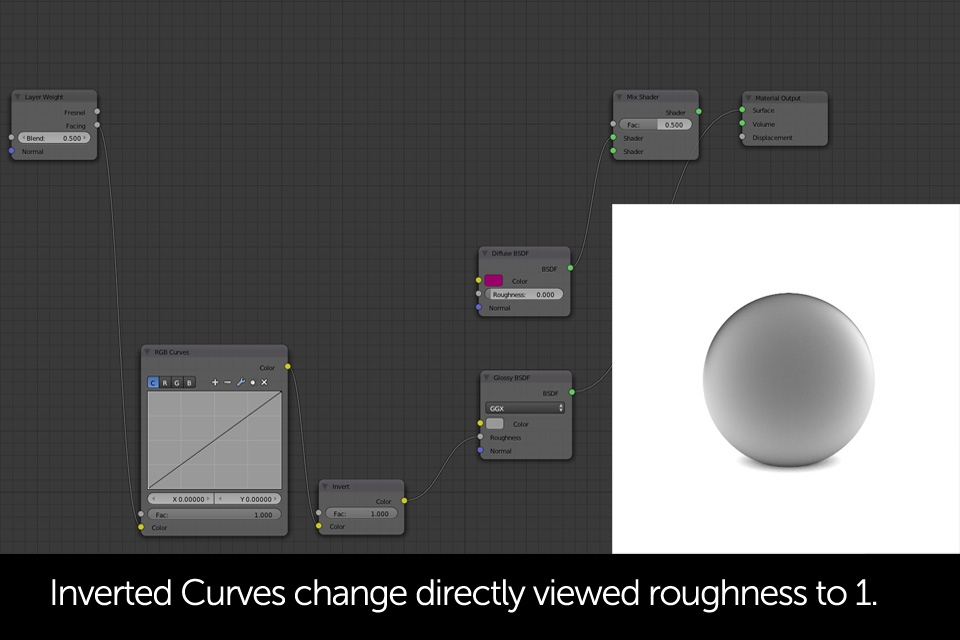
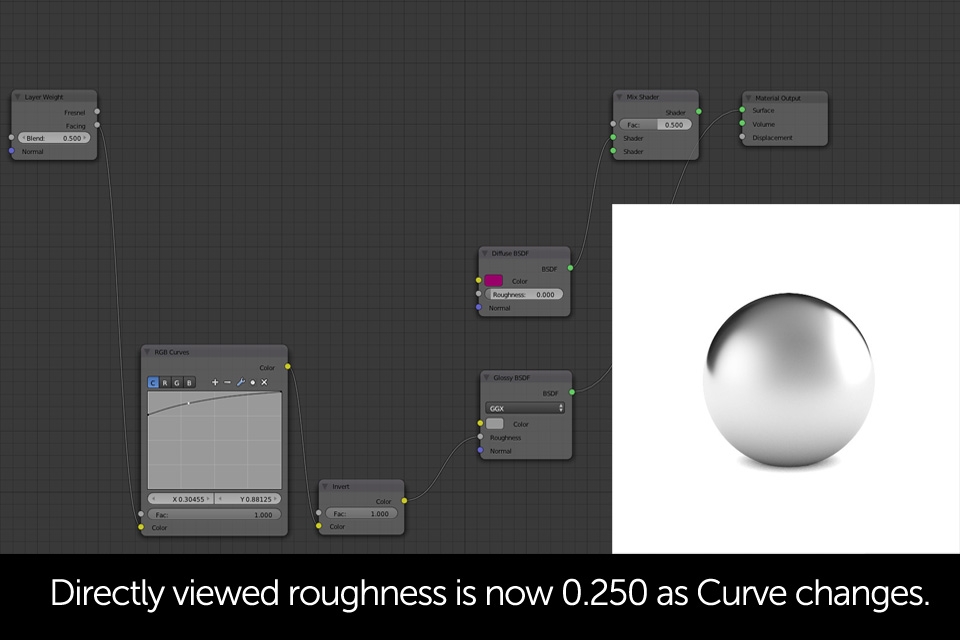
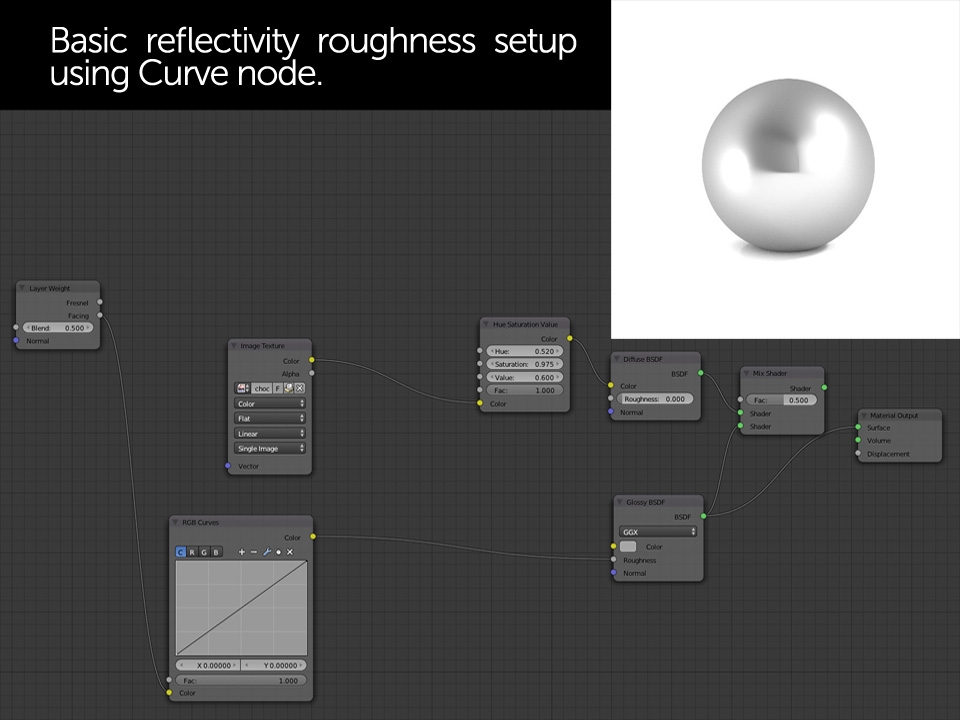
Shader setup you can see below is not 100% perfect nor 100% physically correct. It could use some delicate bump effect for instance. However, this type of shader is very easy to prepare and quick to adjust. From this point you're able to create basically all types of plastic / glossy / coated materials with different reflectivity and roughness values. Curves are most flexible way of controlling these attributes and RGB color node allows you to fine tune both base diffuse as well as slight reflection tint. For me personally this is one of the most widely used shaders, no matter on the project.


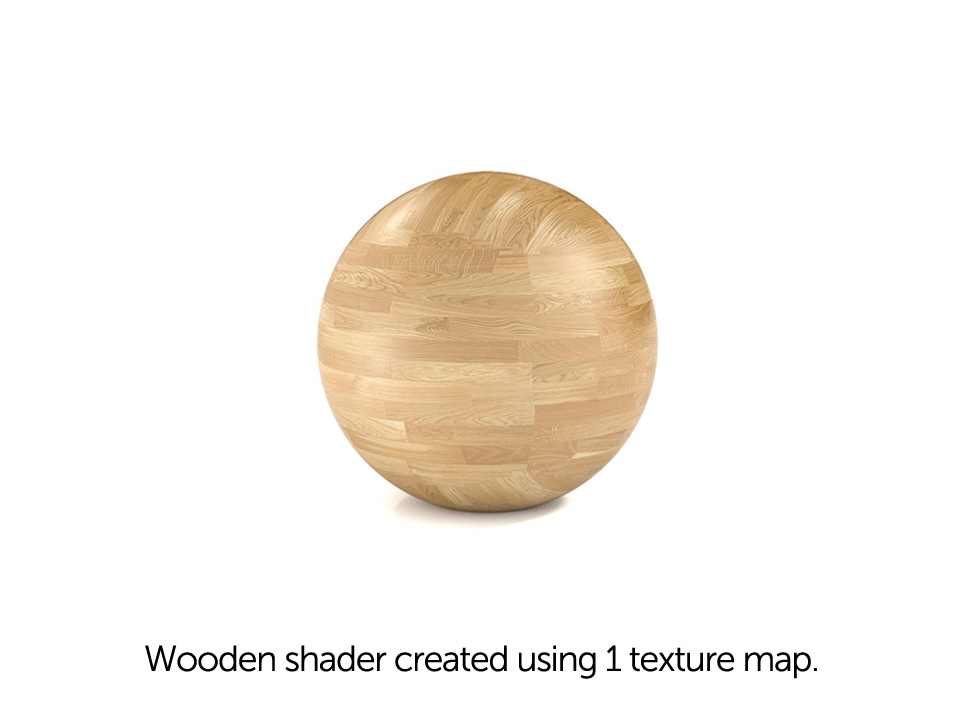
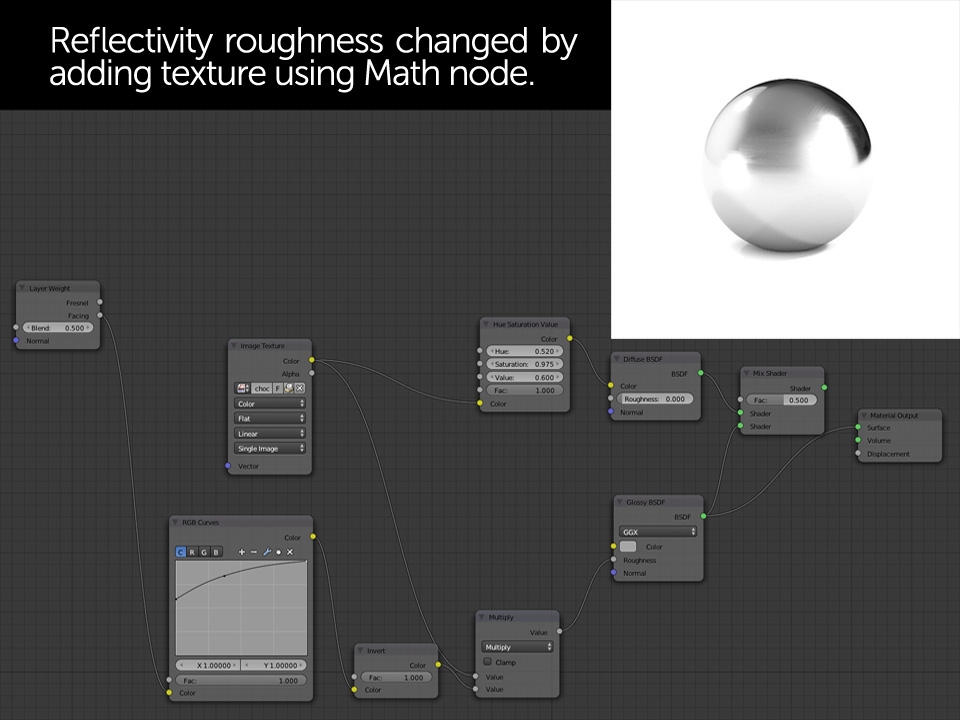
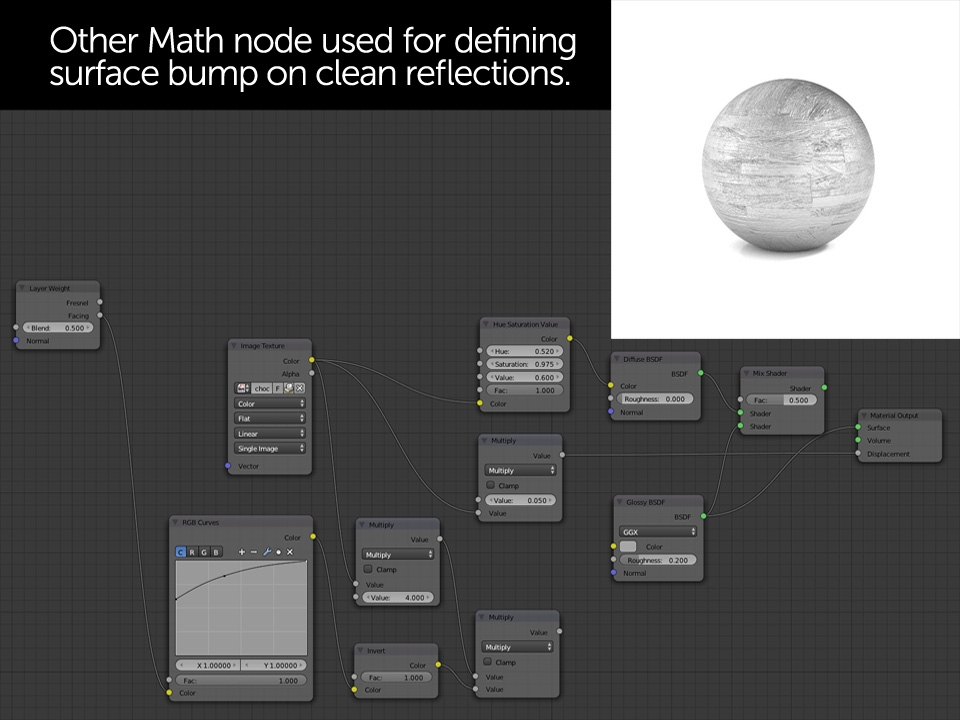
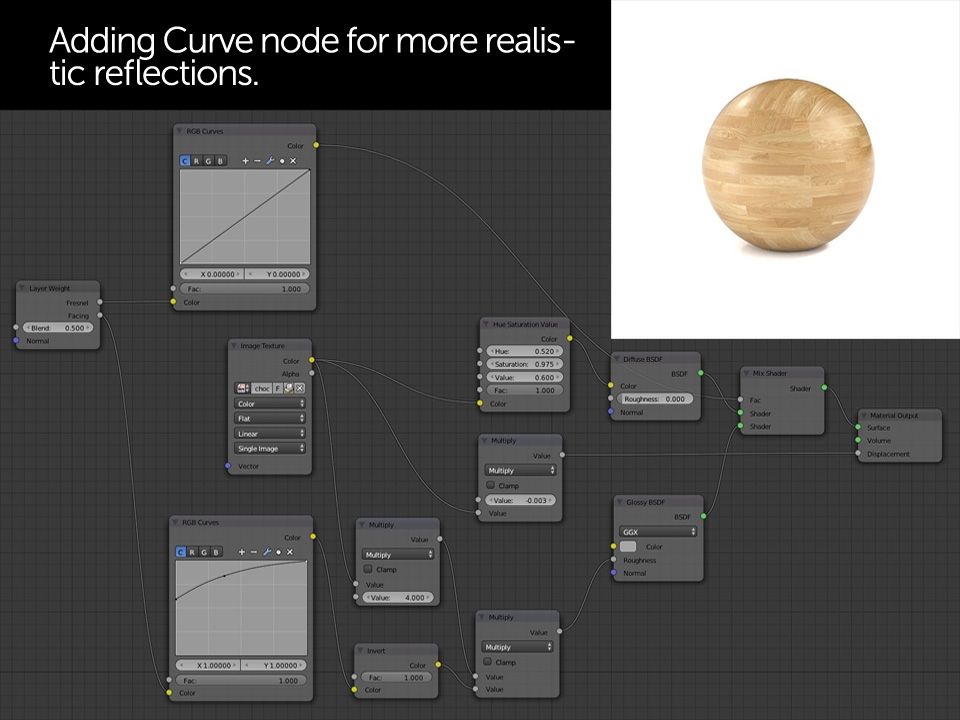
A general method of creating the shader above is similar to plastic / glossy shader. First I define the diffuse texture look by adjusting its color and saturation. RGB Curves can be used for that as well. Next, I focus on defining the reflectivity roughness. We already know it changes depending on the viewing angle but wooden material would also have some roughness imperfections by itself. That's why I need to combine both RGB Curve input with image texture and I use Math -> Multiply node for that. You can also try using different Math modes like Add as there are many different ways of achieving correct looking results. Desaturated and strongly brightened diffuse texture could be also used as a reflection color input, simulating some dirt and reflectivity imperfections. I've omitted that not to make our Node scheme too complicated.
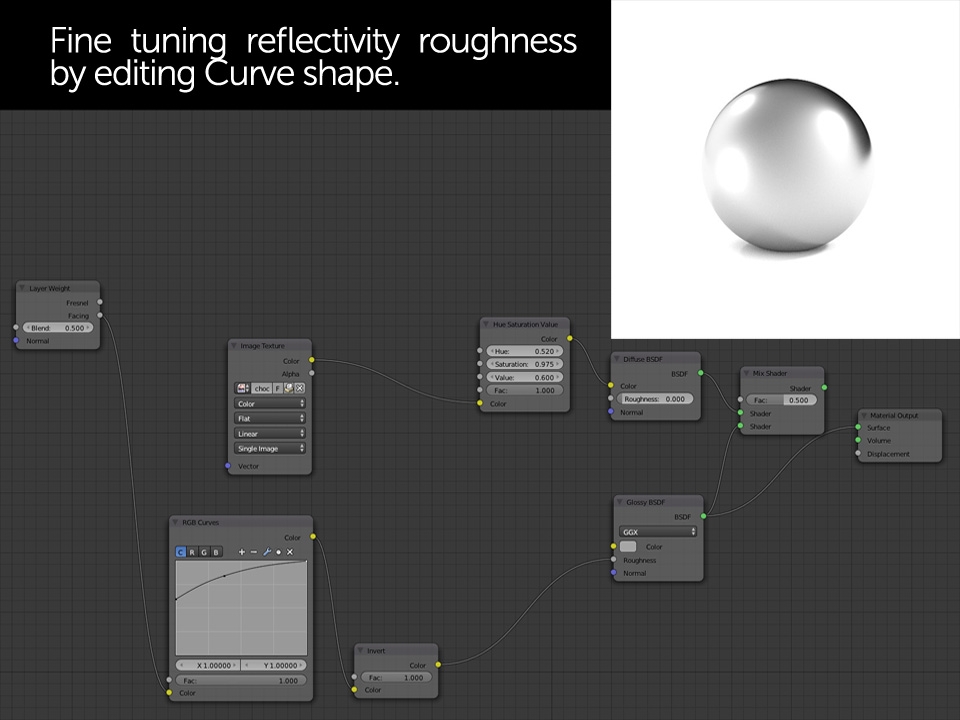
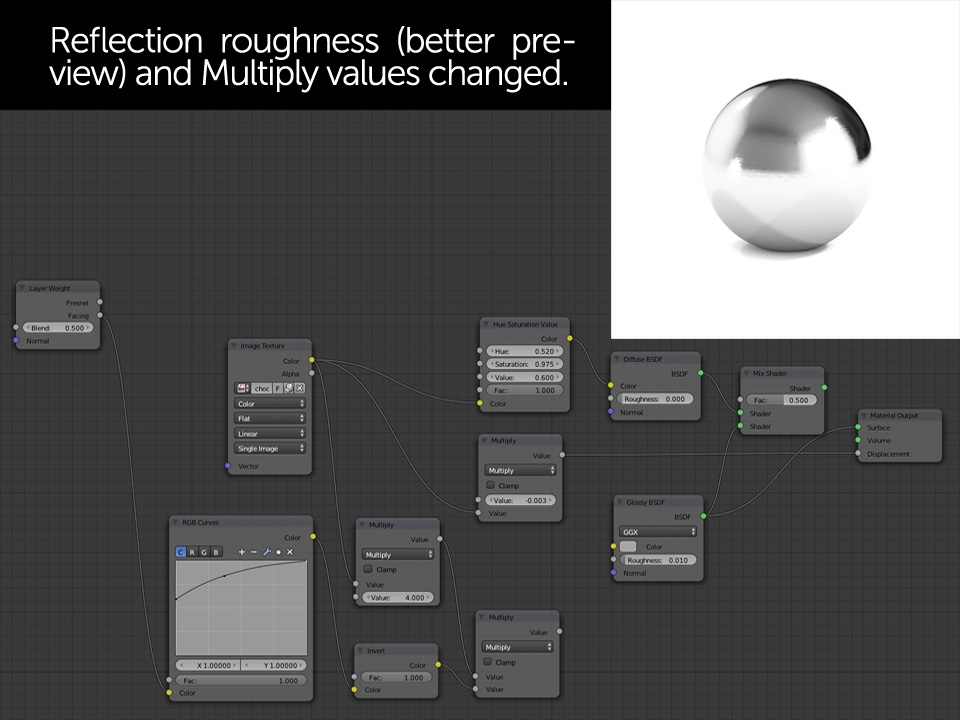
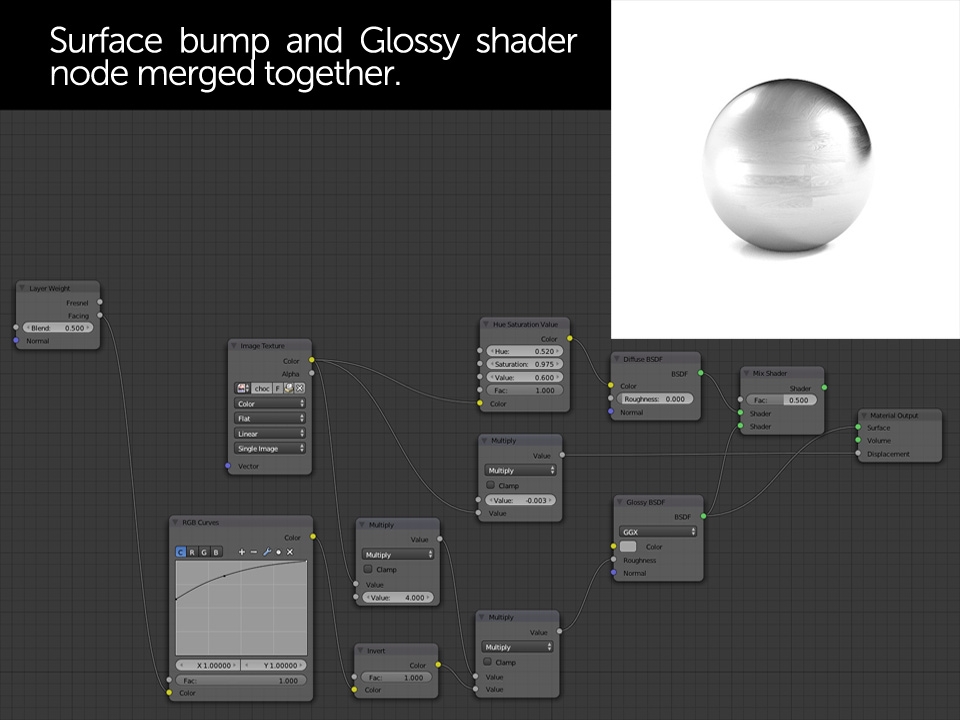
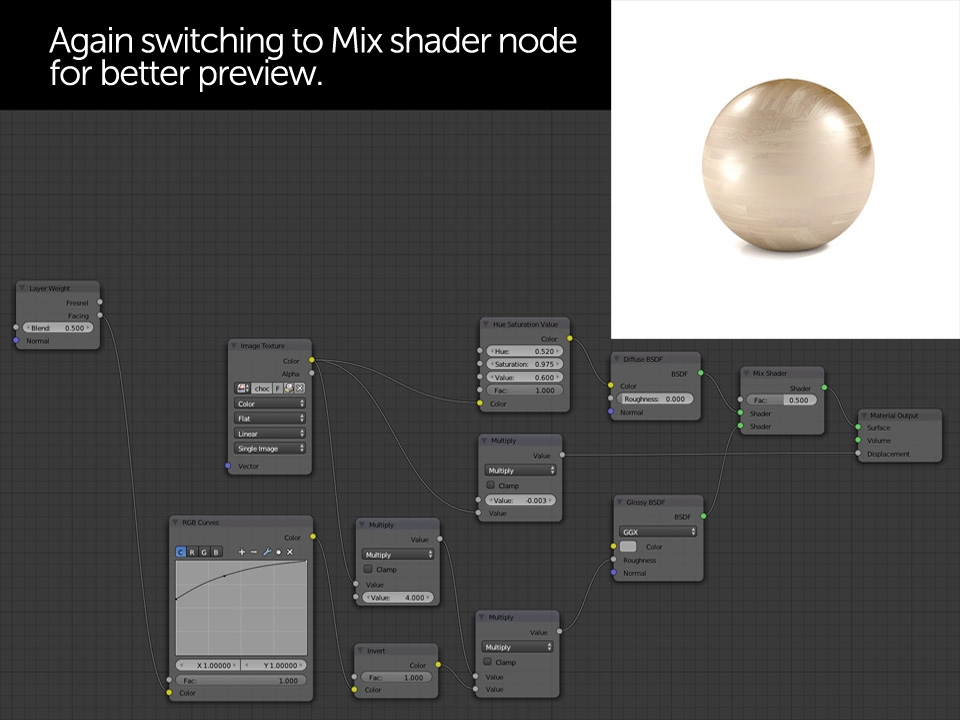
After defining reflections I usually spend some time adjusting surface bump using very reflective, clean Glossy shader. With everything defined, final step is adding (Mixing) diffuse the same way we did with plastic shader. For final adjustments you can either change the shape of RGB Curve used for mixing Glossy and Diffuse shader nodes, as well as Glossy color brightness.

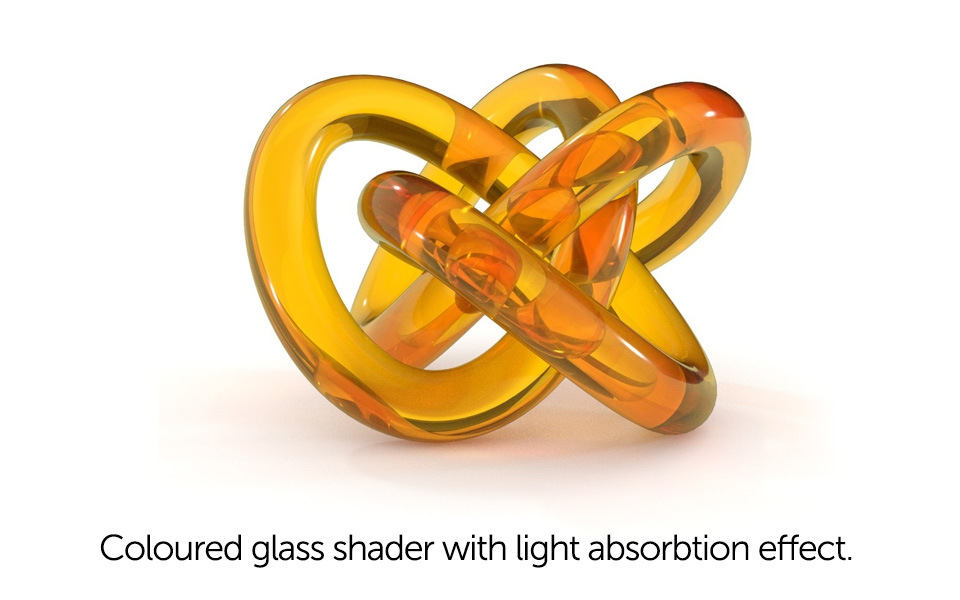
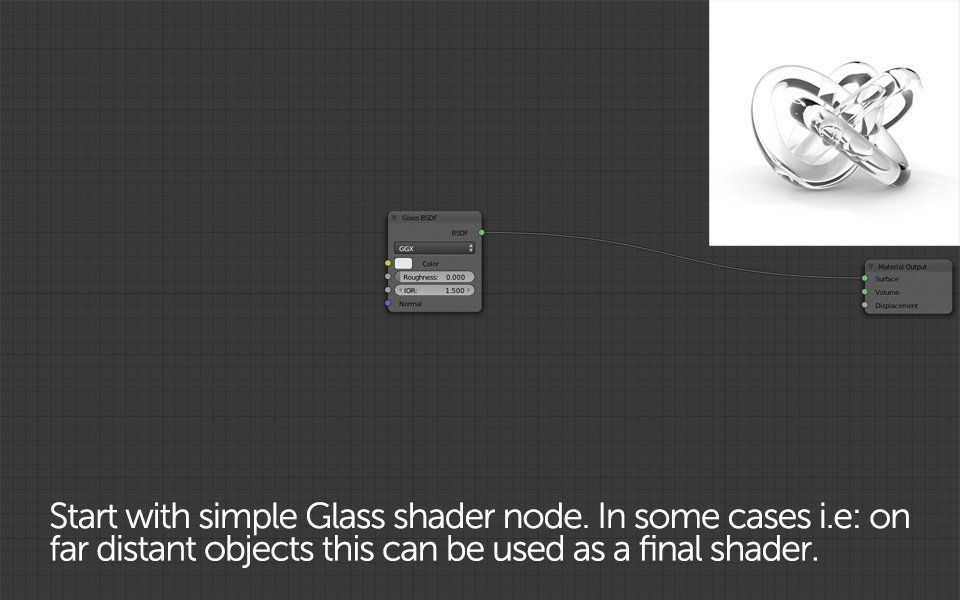
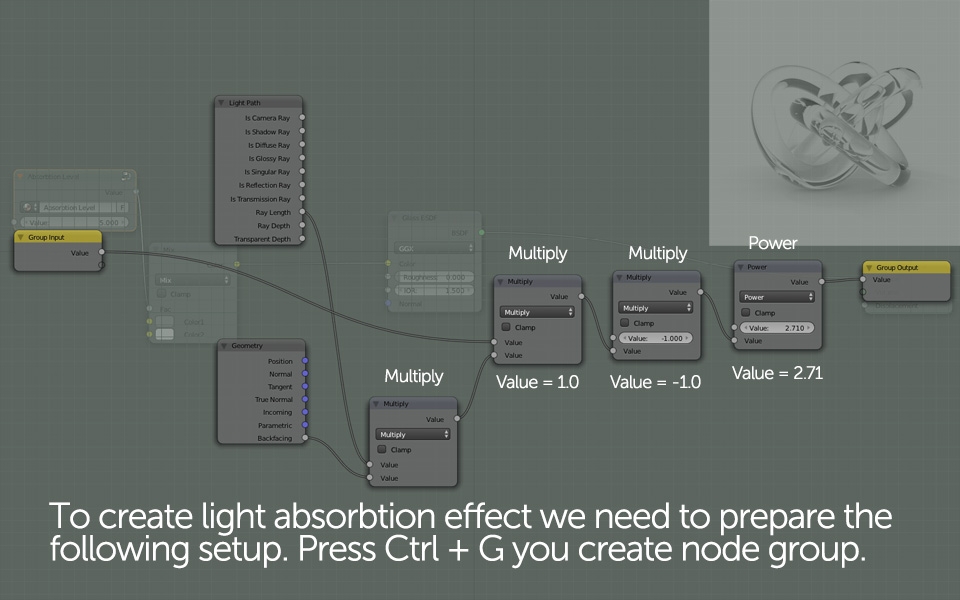
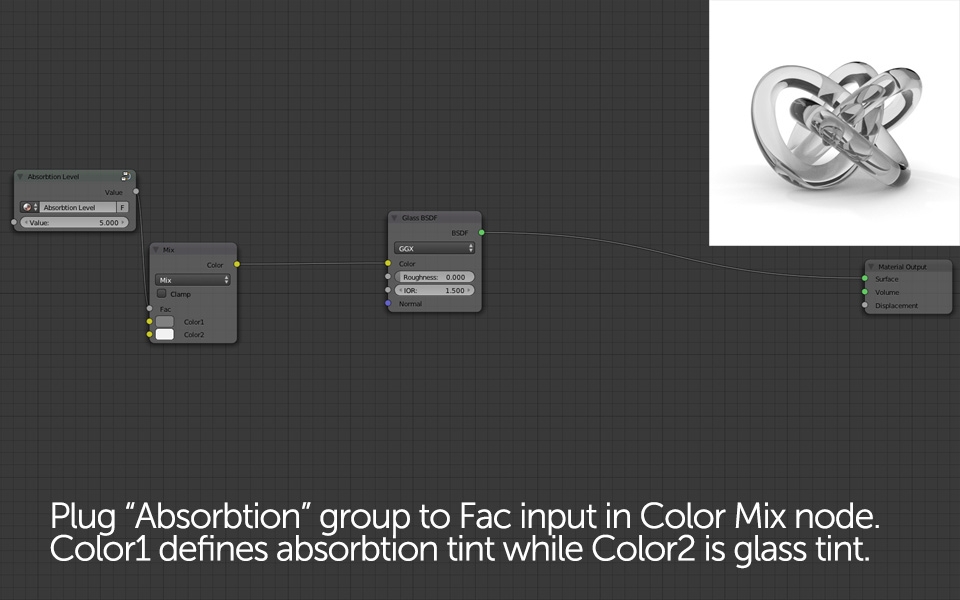
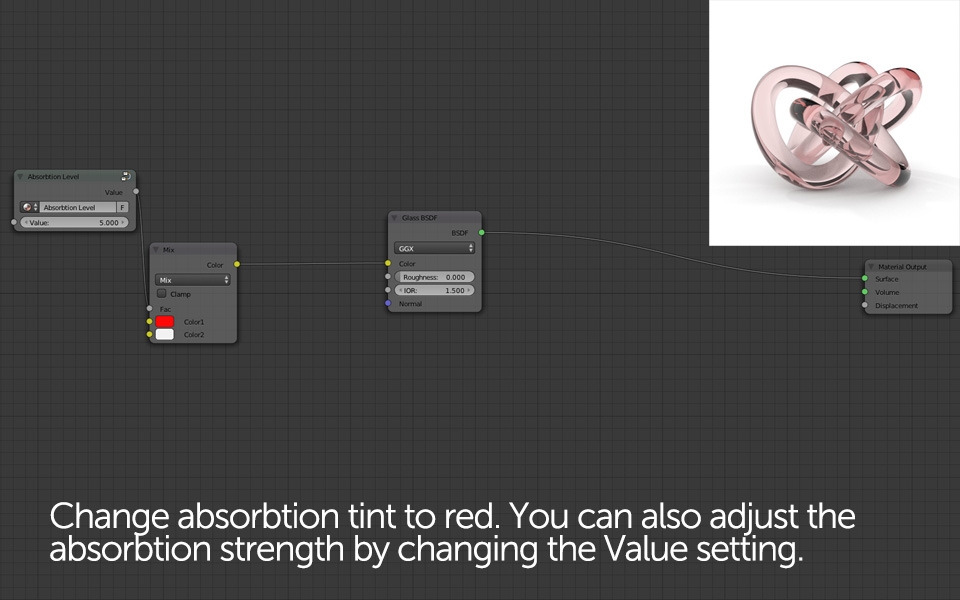
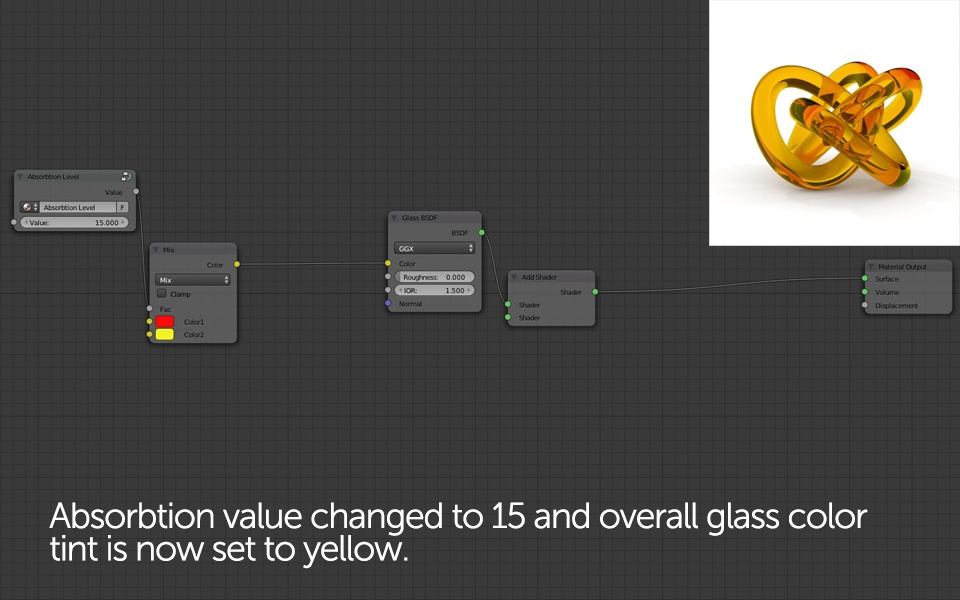
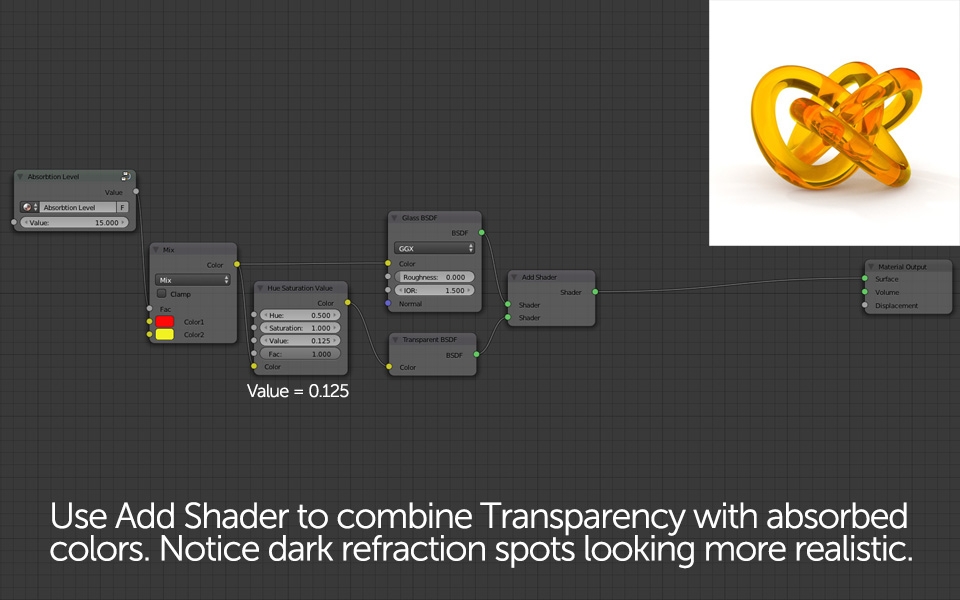
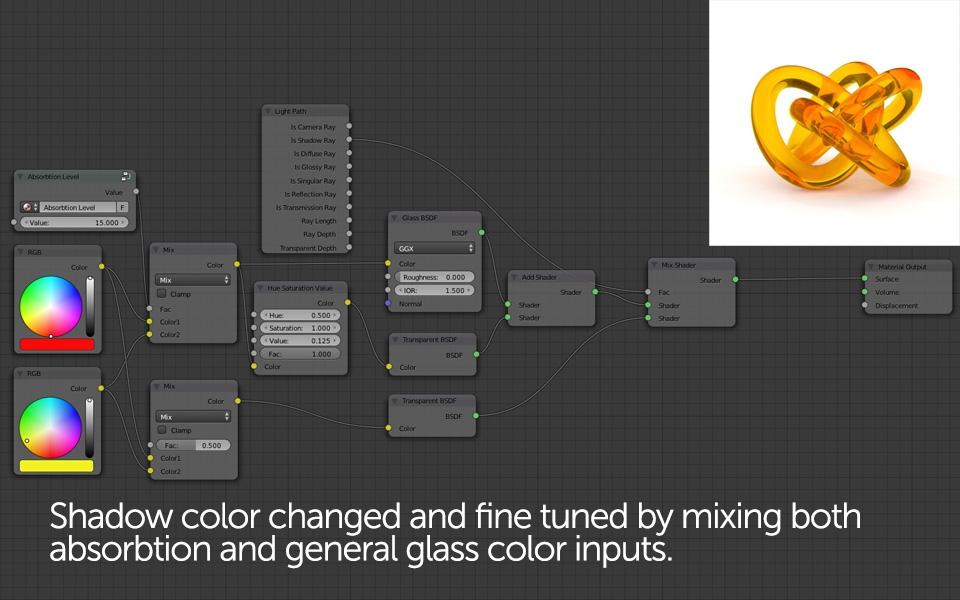
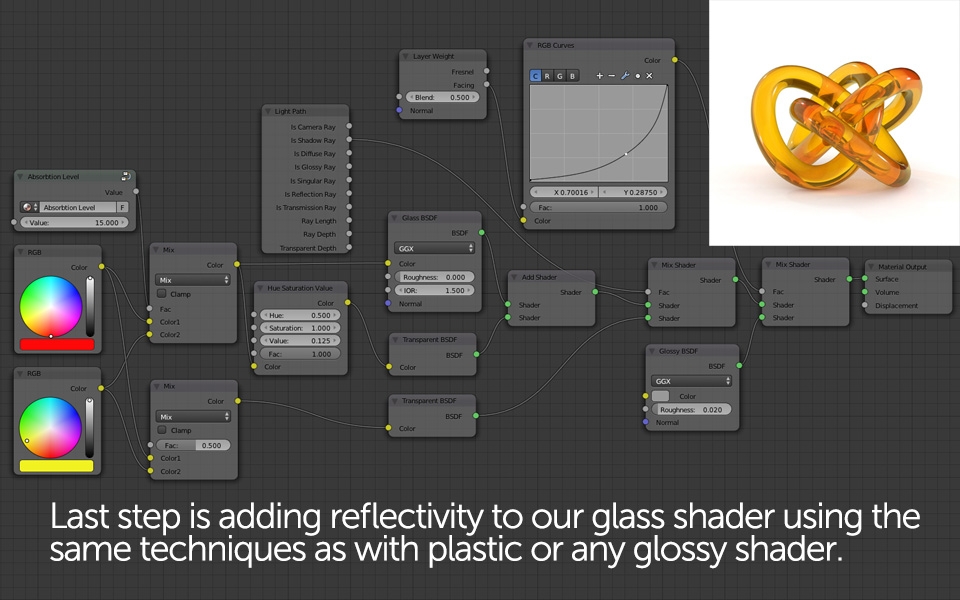
If I was asked to point one thing I dislike about Cycles that would definitely be the way to create good looking glass shader. To be honest, even until today I didn't find a method that would fully satisfy my needs. Depending on the project I always found it necessary to adjust the glass material at some point. depending on the environment, lighting etc. It is very common for many to think that default Cycles Glass Shader node is the eventual "glass material" (even though it works quite good in many situations). From what we've already learned we know that's not true. Since Cycles material philosophy bases on building shaders from the scratch, using single "properties" and joining them together, Glass Shader node is simply a refractive, transparent property that can be added to any shader. Even its basic reflectivity isn't the actual "reflection effect" that real life material would bare - we have to add it ourselves.
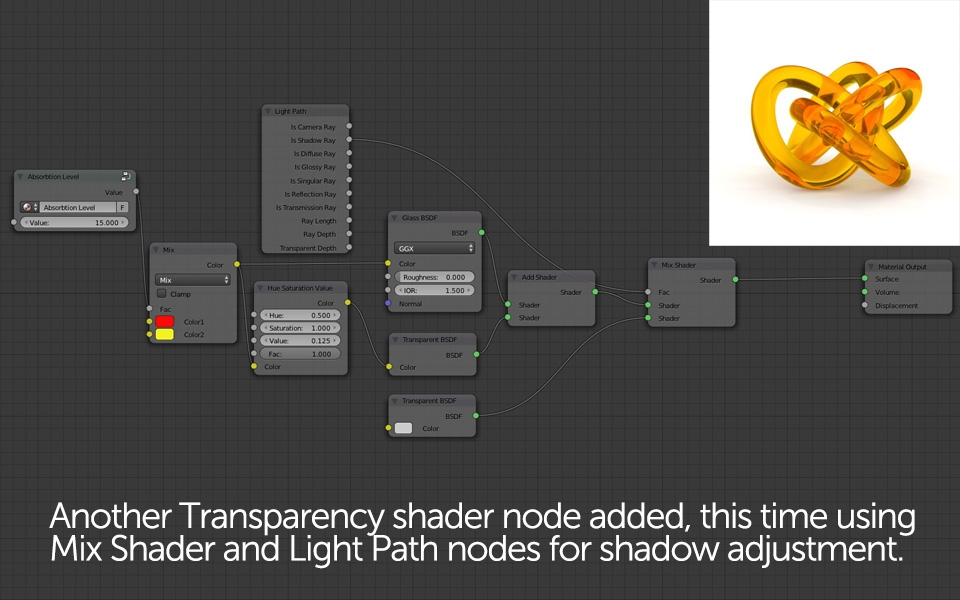
- geometry normals have to be uniformly "flipped" outside
- refractive geometry volume has to be a closed (no open faces, loose edges etc.)
- intersecting glass shaded object with other, diffuse shaded geometry will always cause refraction changes
- you need to enable caustics for correct shadows and general look
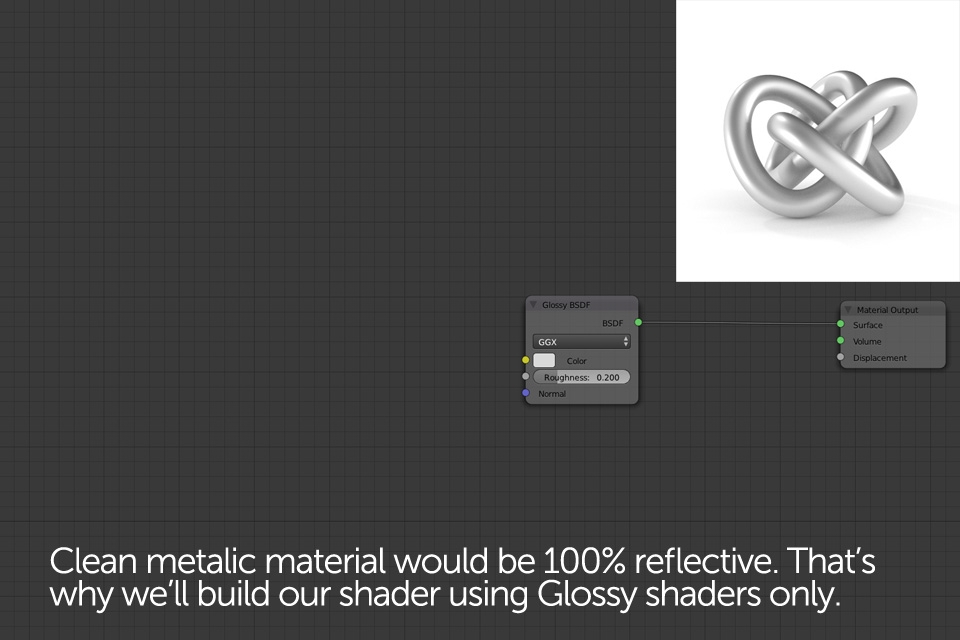
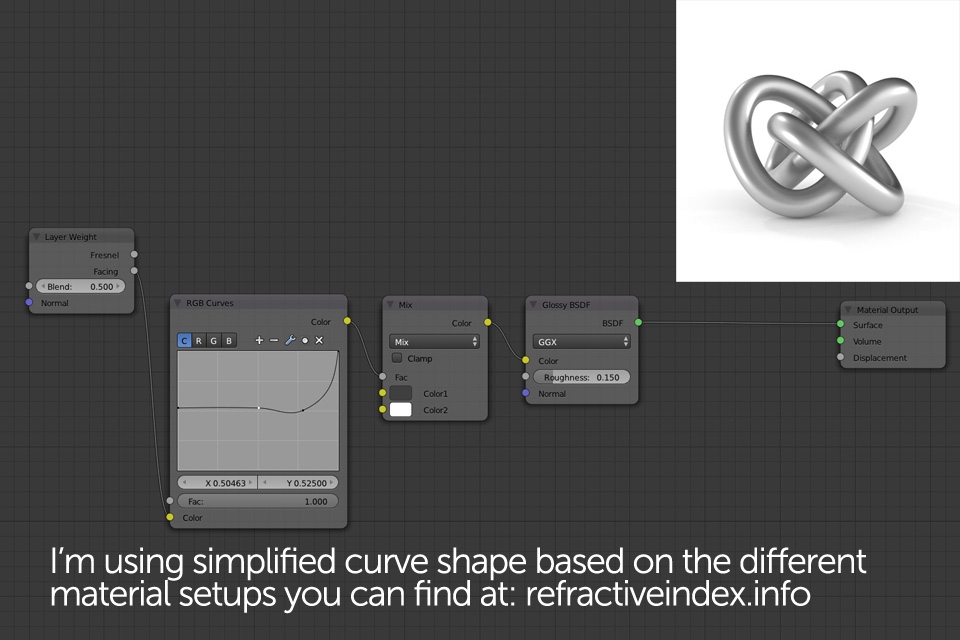
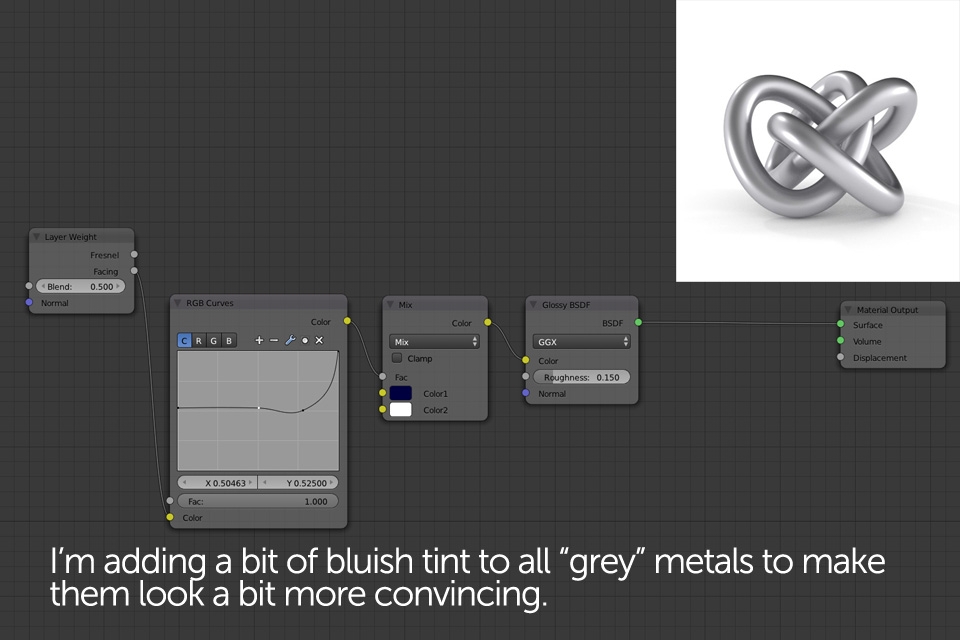
Metalic shaders require a bit different approach than other reflective materials. While in all diffuse color based shaders the most important factor seemed to be the reflectivity roughness, with metals we have to focus on the reflectivity color. A good example for that would be golden metal - its reflections travel from slightly dark yellow / orange to almost purely white, depending on the viewing angle. Without getting into physical details, there are websites out there describing this phenomenon and the one you should definitely check is: refractiveindex.info. What you can find there is the "Reflection calculator" showing the actual look of reflectivity curve for every material you choose. The curve is split to RGB values and since re-creating this in Cycles would be too troublesome (yet possible), I usually try creating my own, similar looking curve, averaging all three color channels. The curve should be used as a mix input for 2 colors - white for very low angle reflections and any other color on the opposite site - depending what kind of metal you're trying to create.
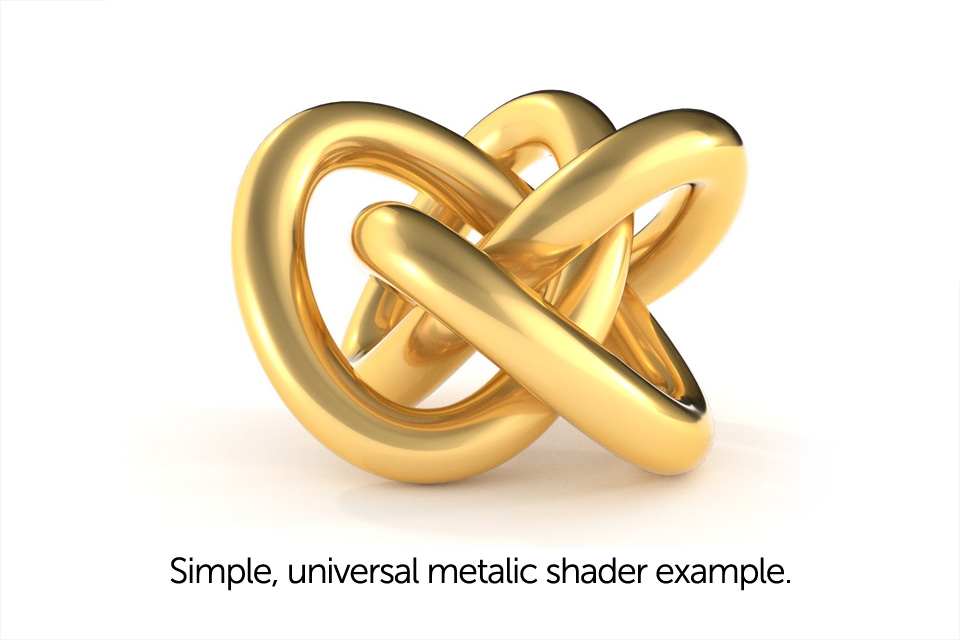
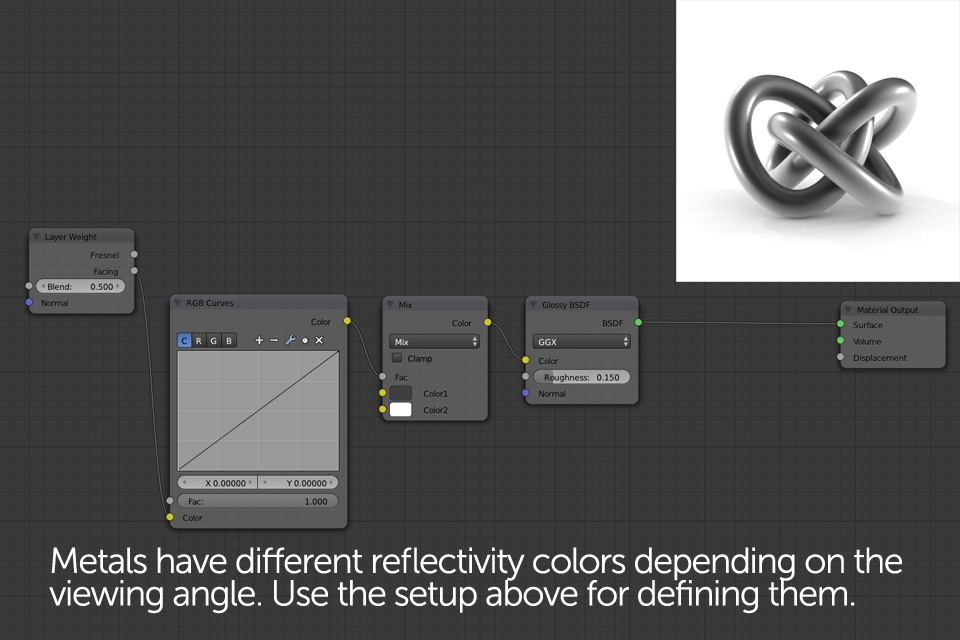
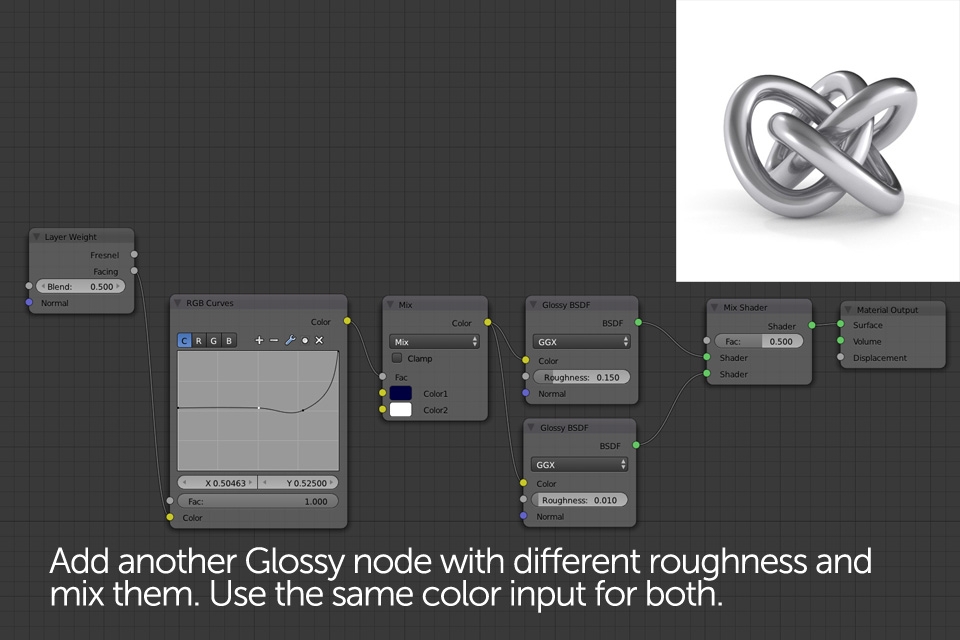
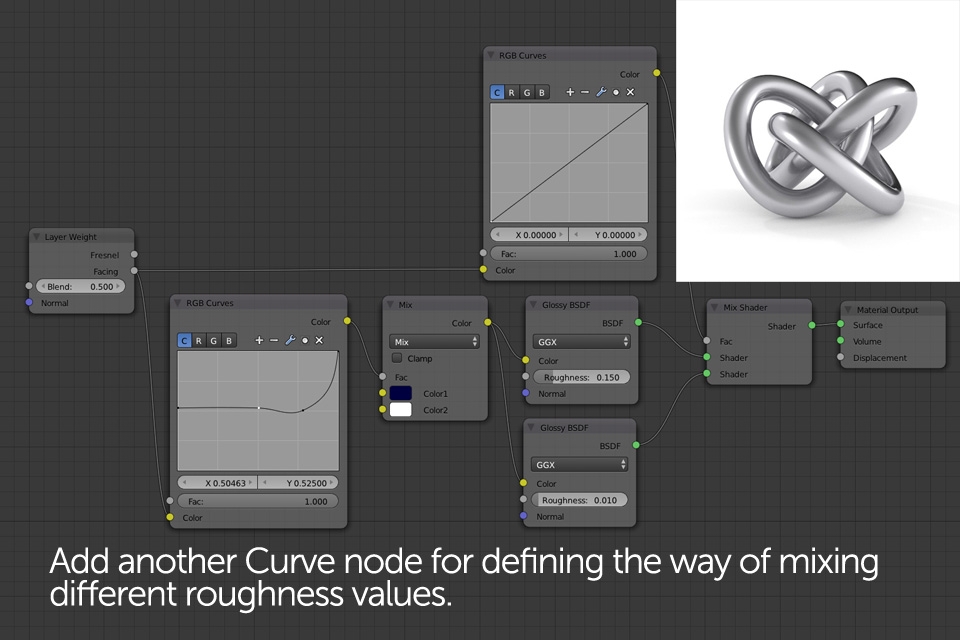
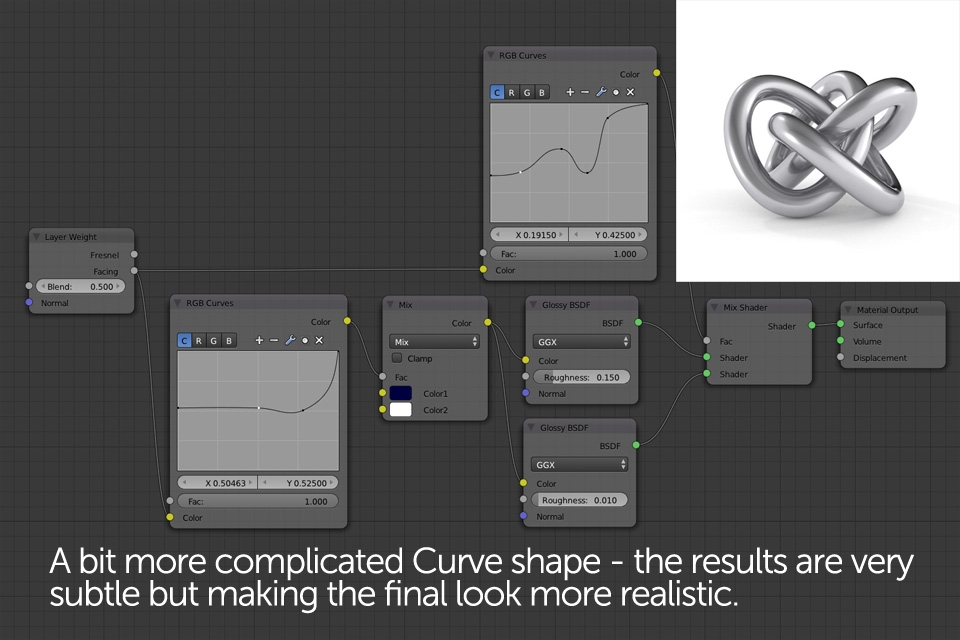
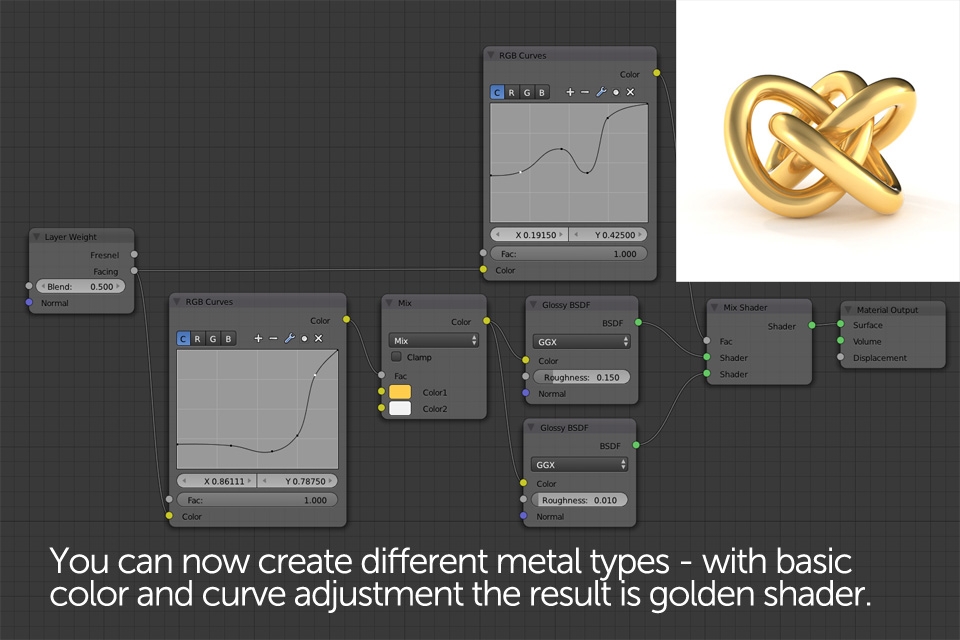
As for the reflection roughness - I recommend using two separate Glossy shader nodes and mixing them using another Curve input. We could use only one Glossy shader node with RGB Curve set as a roughness input (like we did few times already), but since metals usually have quite sharp reflections in general, the curve shape would have to be very flat an thus hard to adjust.
I'm pretty sure I didn't cover the topic enough to describe all the commonly used shaders out there - that would take few more pages. I'm also sure there are other ways of creating some materials as different artists usually have their own approaches. However, I also think that many users may find this tutorial inspiring for doing their own research. For me personally creating shaders is probably the most interesting part of the entire digital image creating process. It is so interesting to look at something in real life and then try imagining entire Cycles node setup of that particular material. Sounds geeky I know but unfortunately (or maybe fortunately?) that's the quickest ways to learn. Yes! You don't need to stare in front of the monitor all time in order to practice! Just look around you, understand Cycles shading philosophy and then "think" this way, examining stuff in real life.