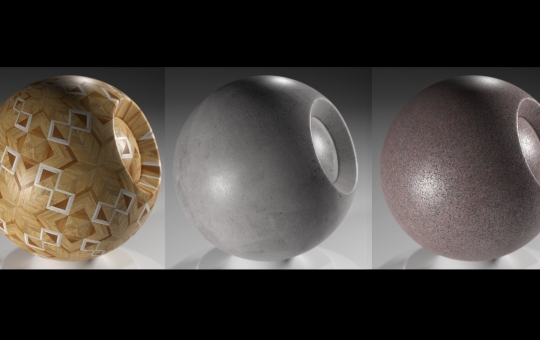
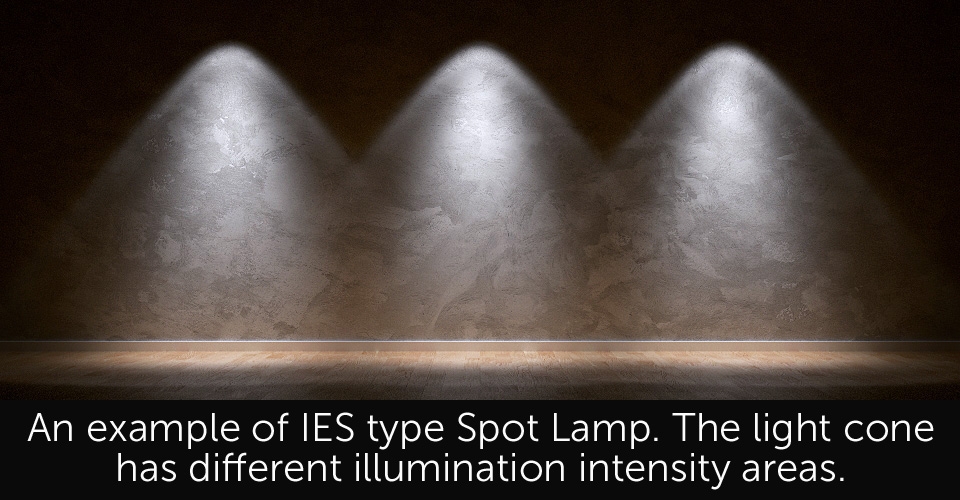
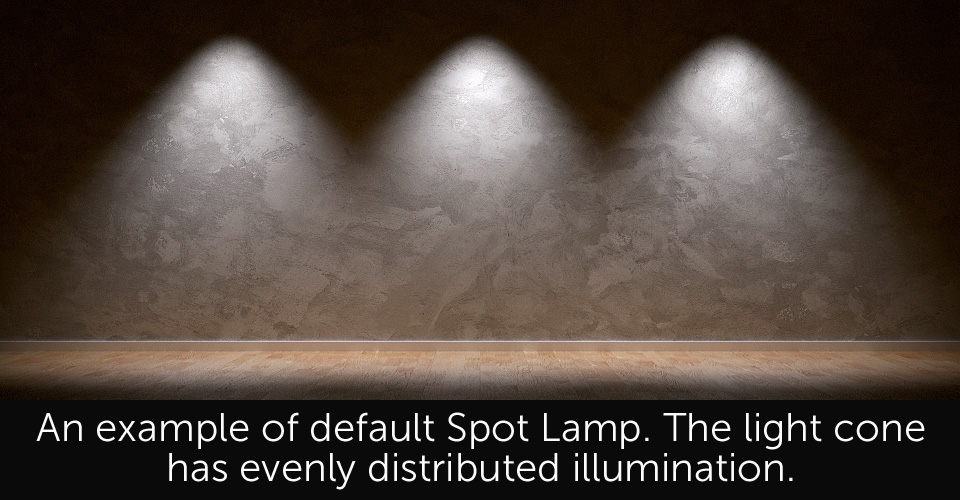
In this quick tip tutorial we'll be focusing on a very specific way of illuminating a 3D environment, using IES types of lights. What does the IES mean? According to Wikipedia, the name comes form Illuminating Engineering Society of North America but all we need to know is the fact, that in 3D reality IES lights aim to simulate different types of real life spot lamps. It probably sounds too complicated to begin with so I guess the pictures below will explain it better:


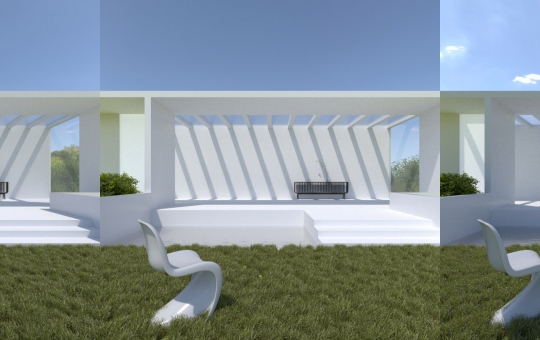
IES lights are most widely used in architectural visualizations but by default they have some usability flaws. First - you need to import them to every 3D application as IES light profiles which have to be created in external software. A few lamp manufacturing companies share various IES profiles available through their websites but that leads us to the second issue - lack of standardization. A light imported from one manufacturer may operate on completely different units than light coming from the other source. Third issue - lots of pre-made IES light profiles significantly increase render times as usually they're not properly optimized for 3D applications. On top of that, fourth - IES light profiles are rather poorly supported by Blender.
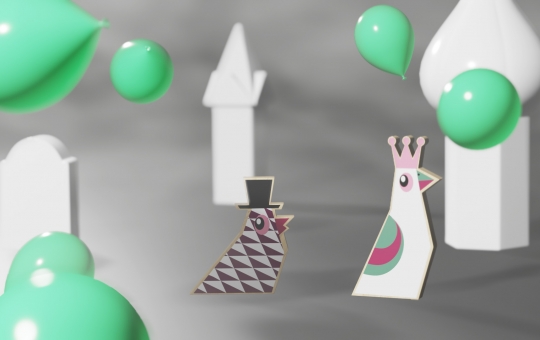
With all the problems above, why would you even consider using IES lights at all? Well, the answer is simple - they look much better than any other spot lamp and it happens that by using some simple tricks, you can create your own IES lights inside Blender!
To make IES light workflow in Blender a bit easier we've created some IES light sets for our own purposes and would like to share them with Blender community.


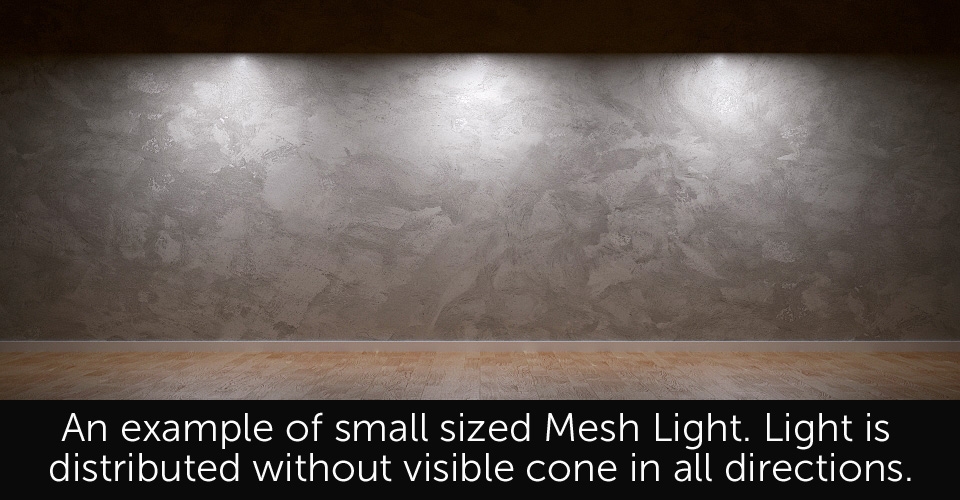
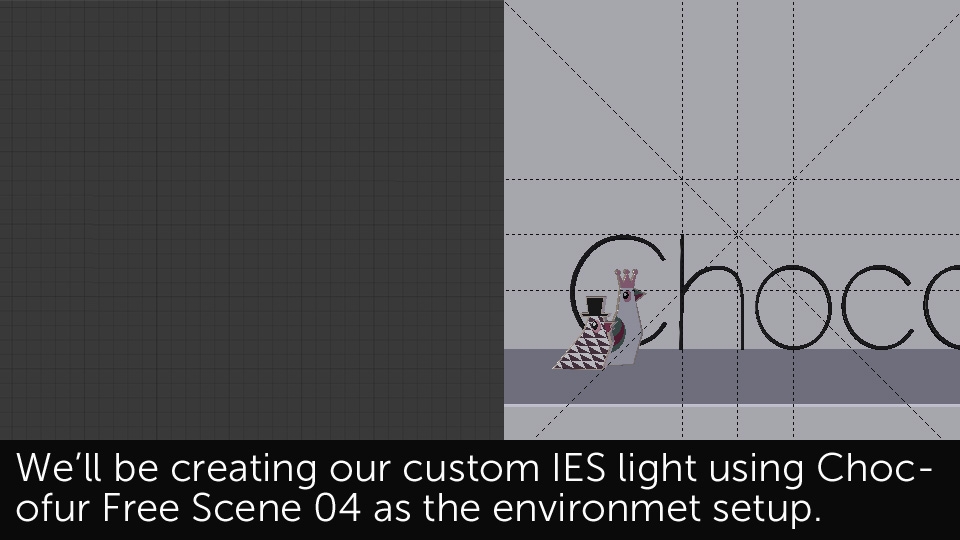
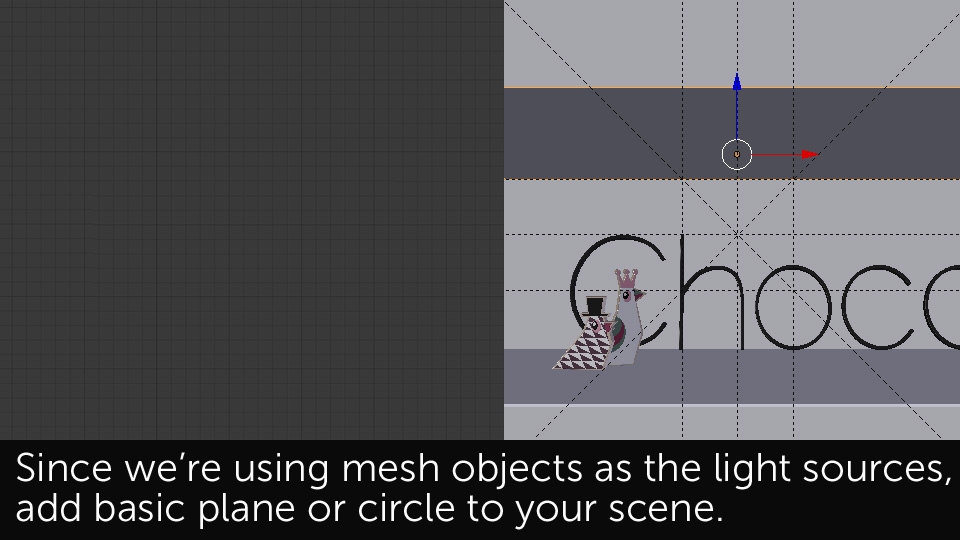
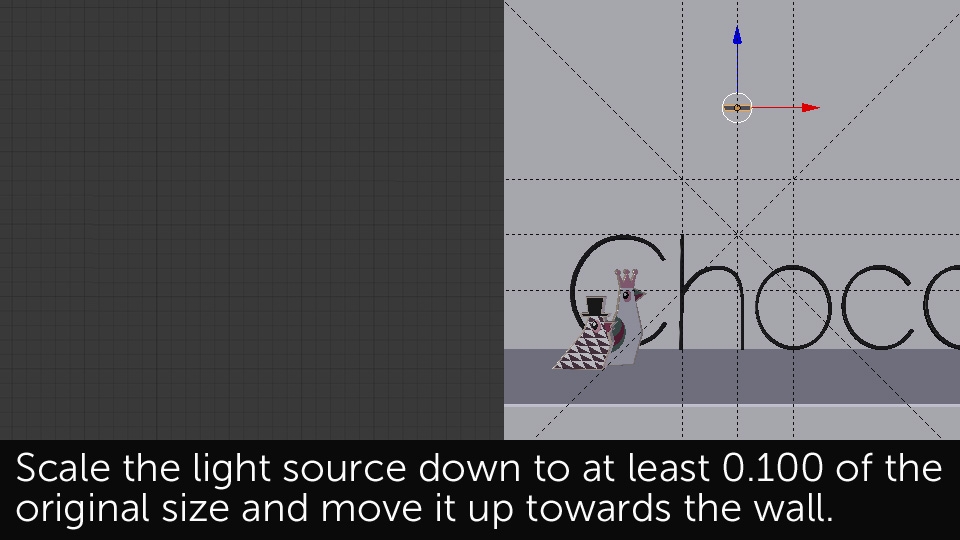
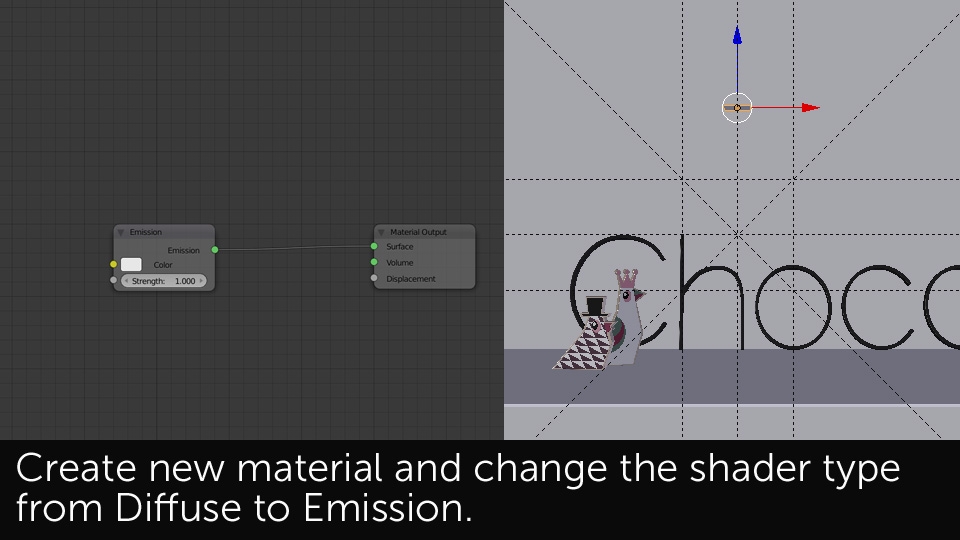
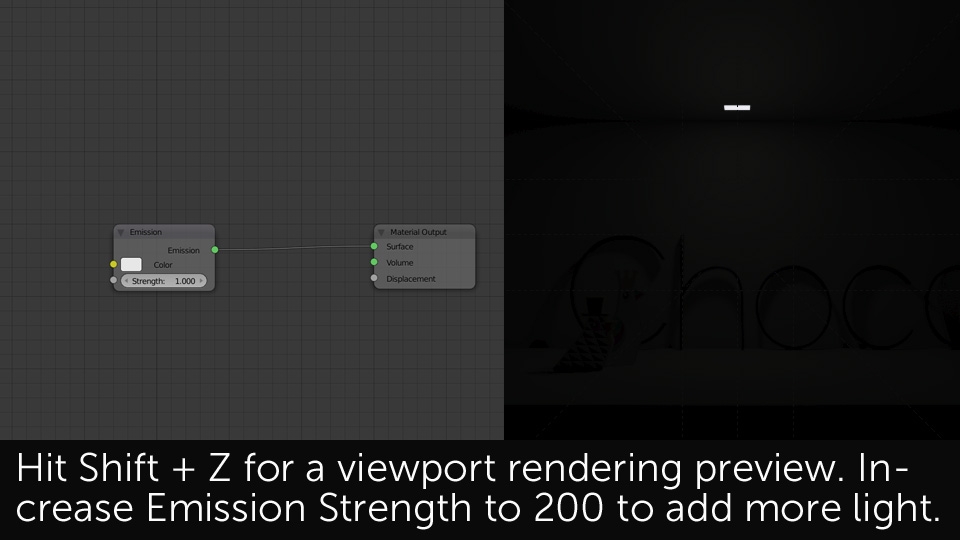
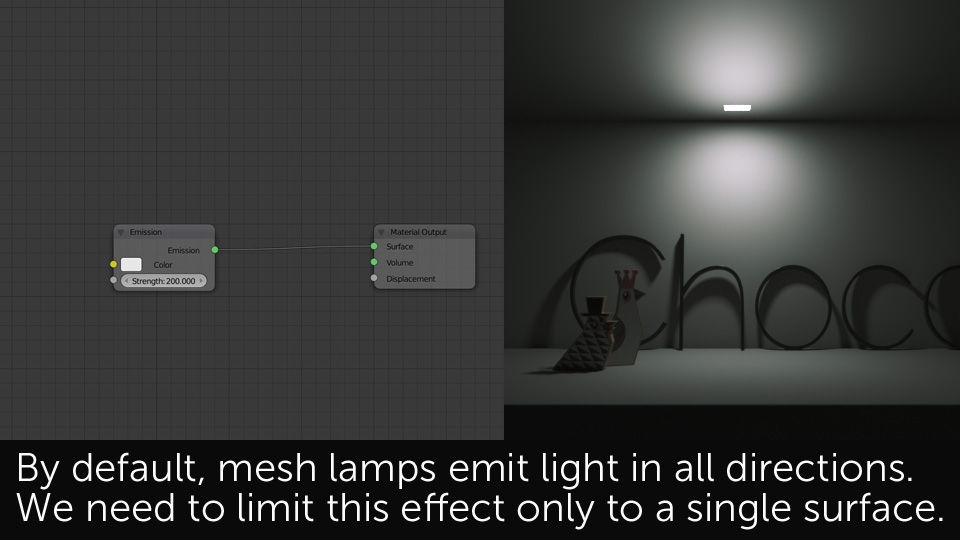
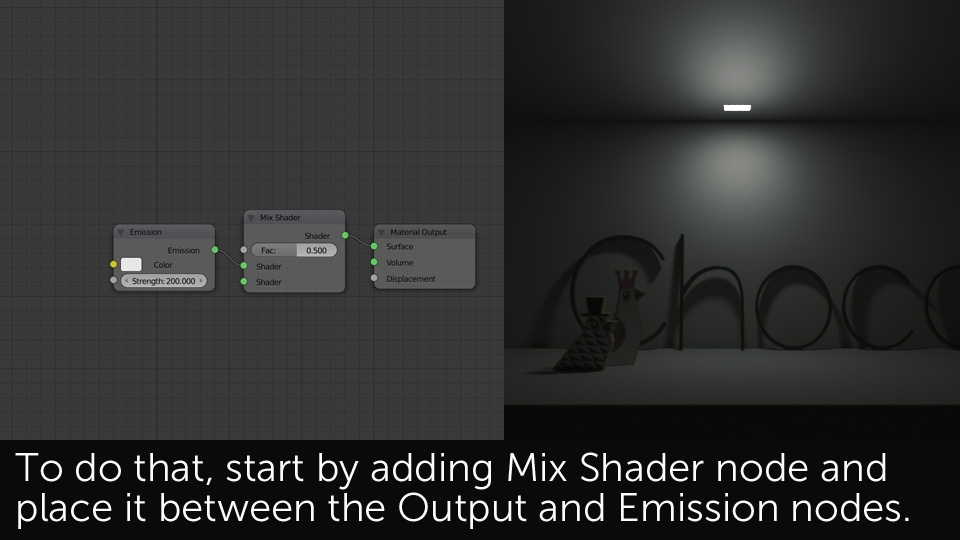
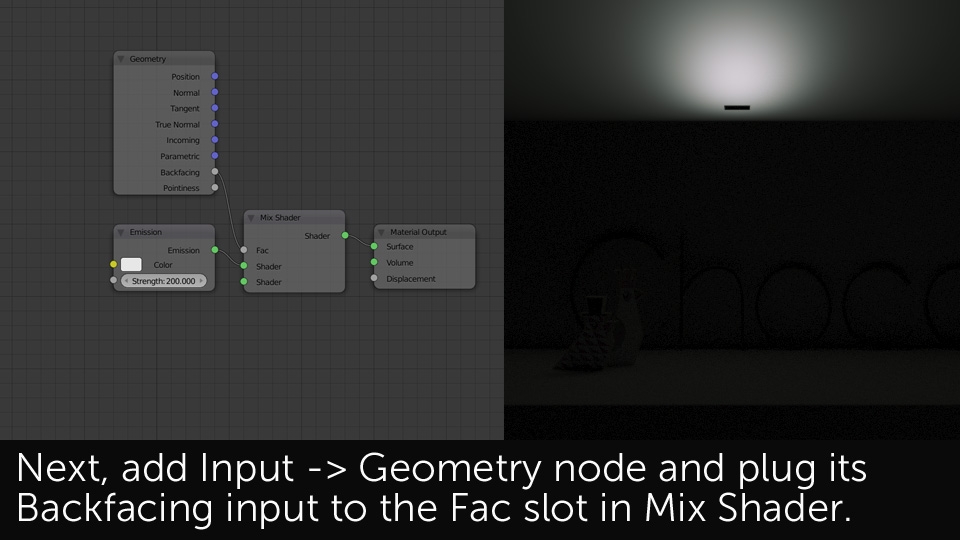
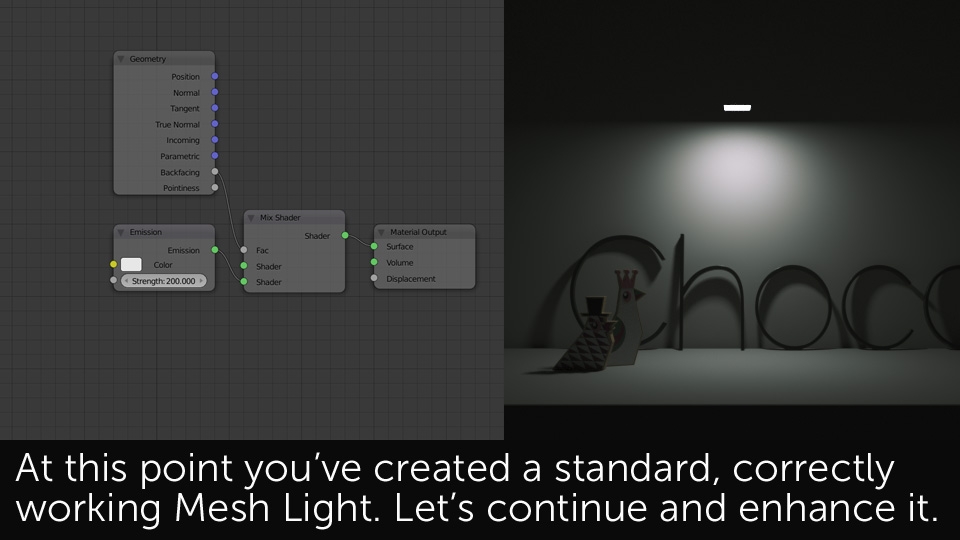
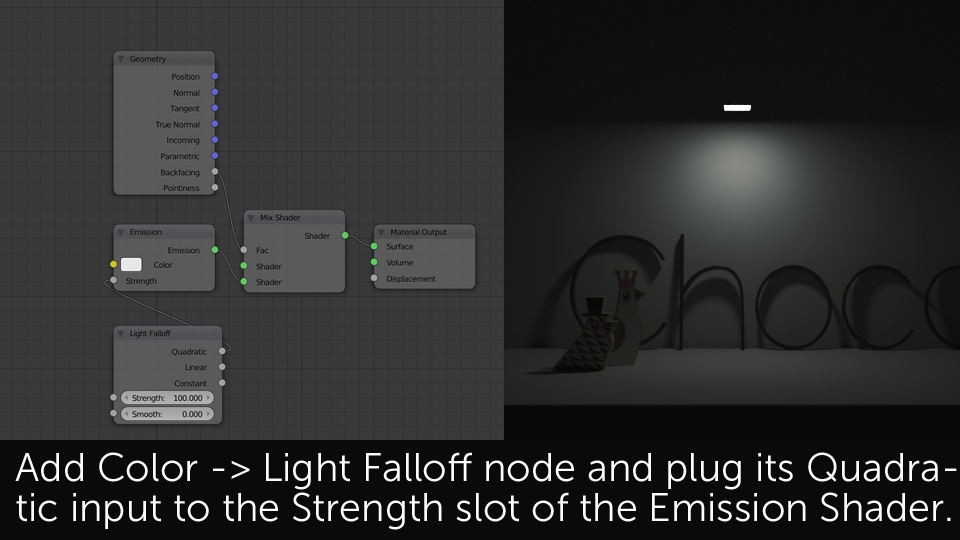
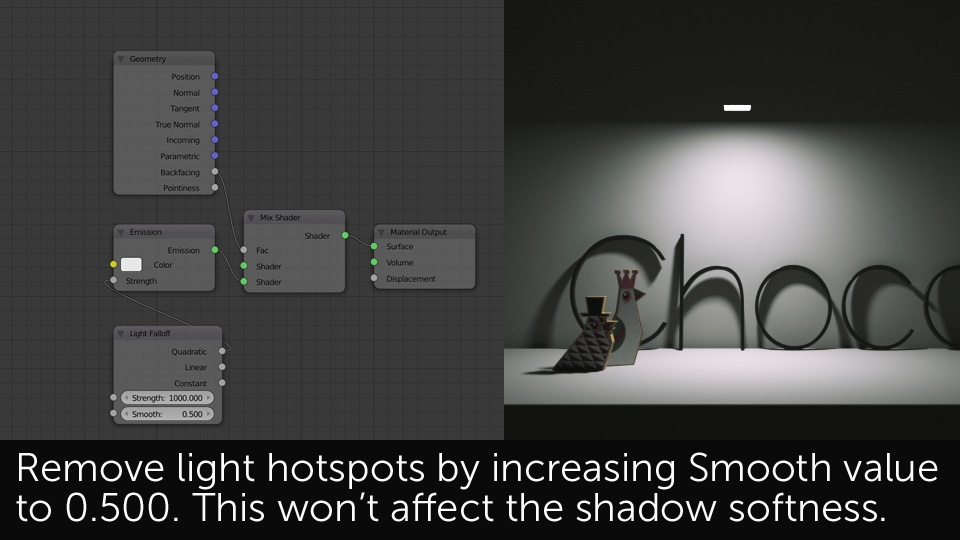
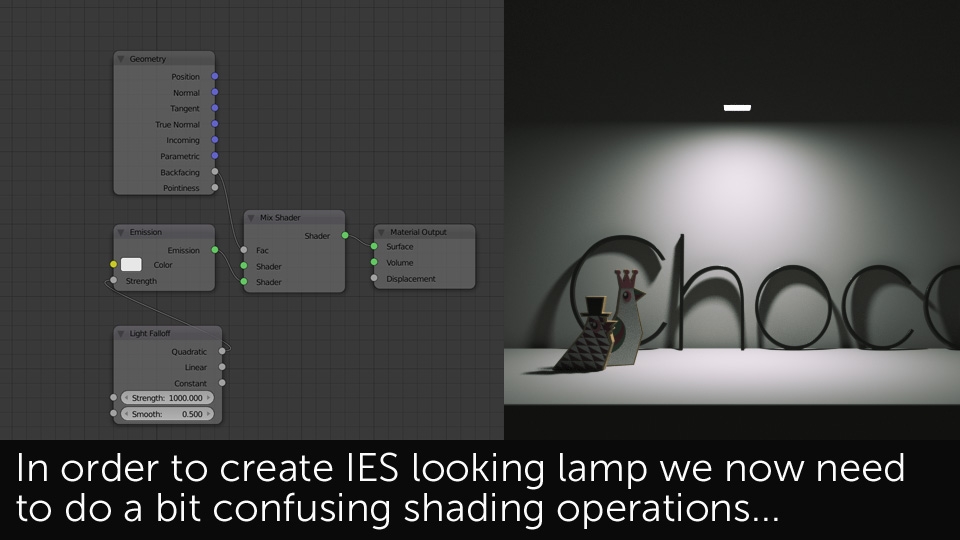
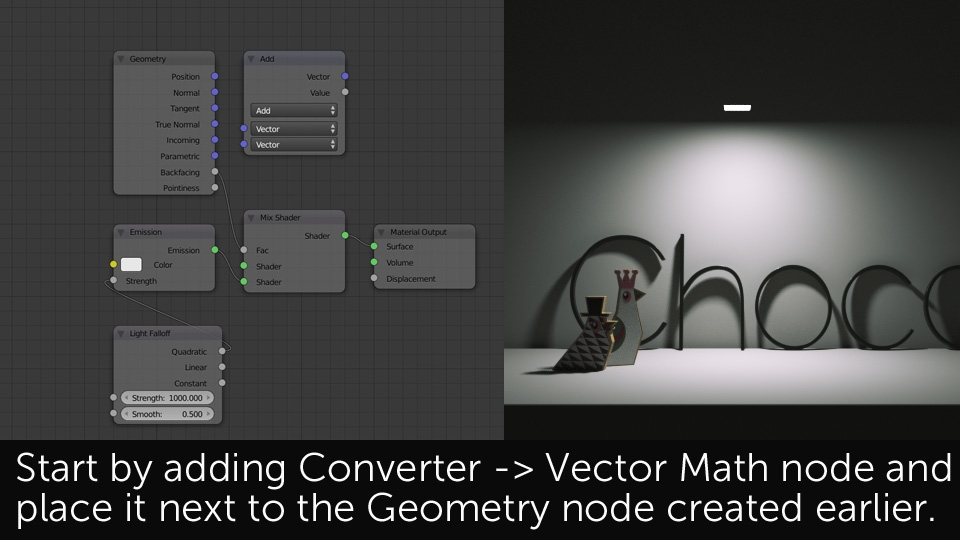
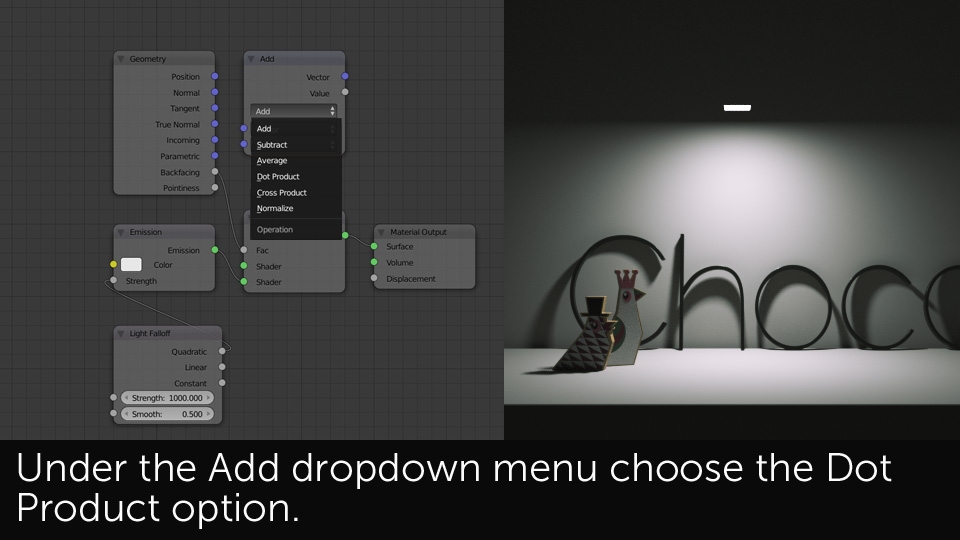
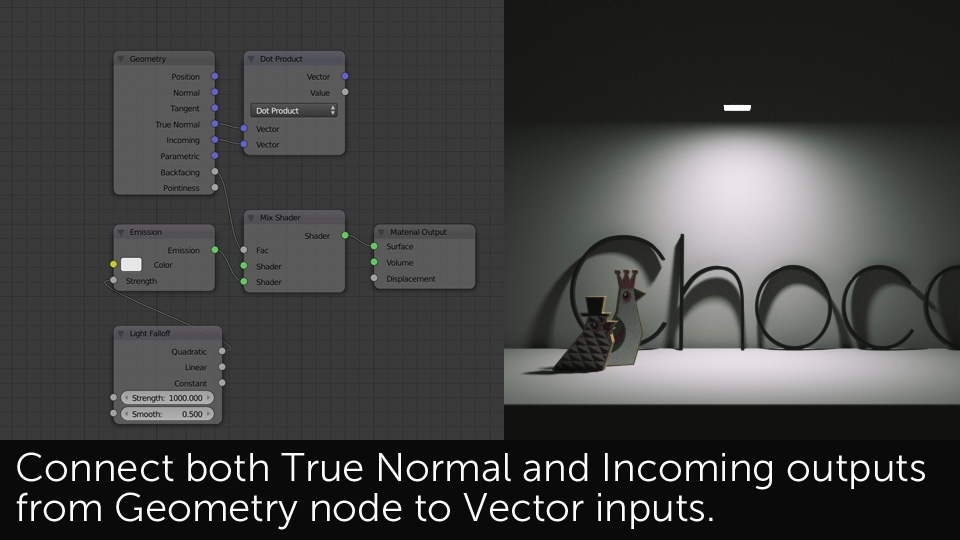
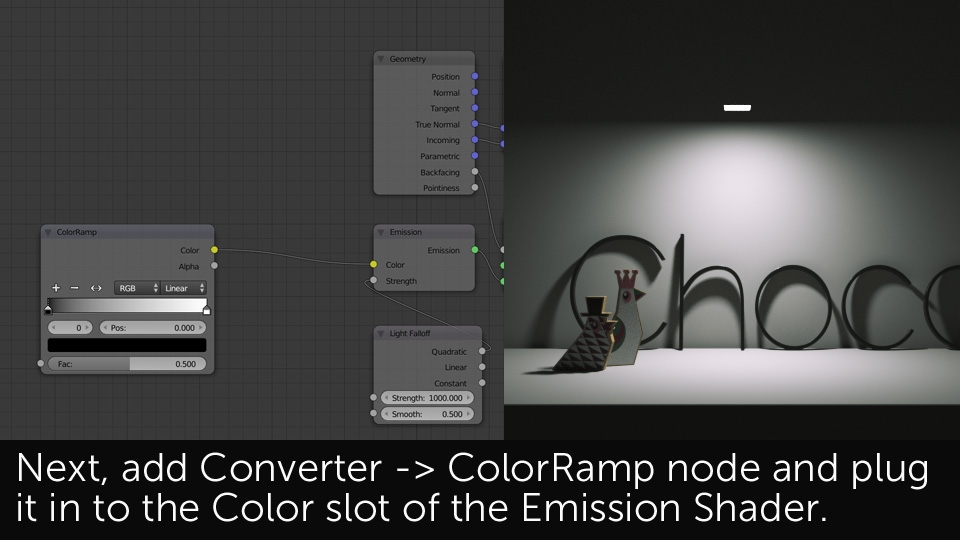
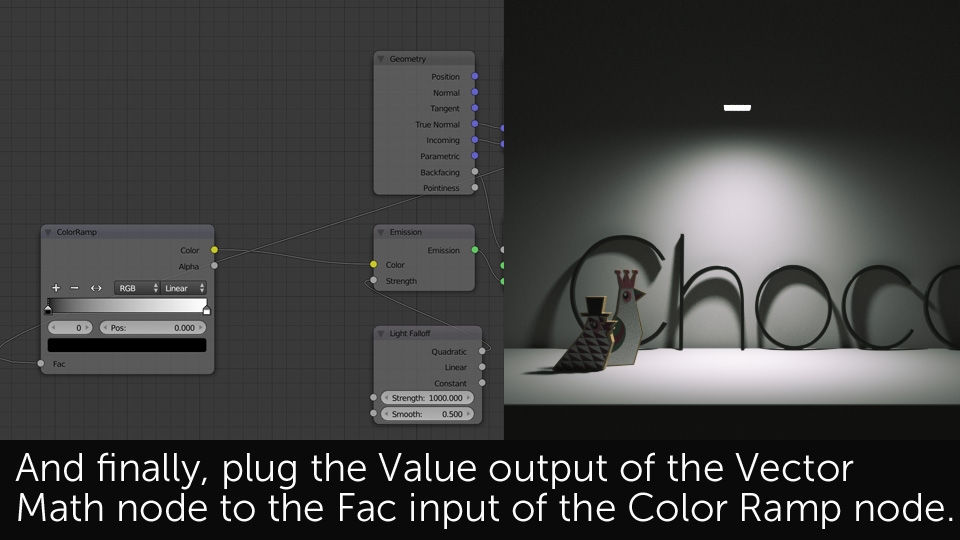
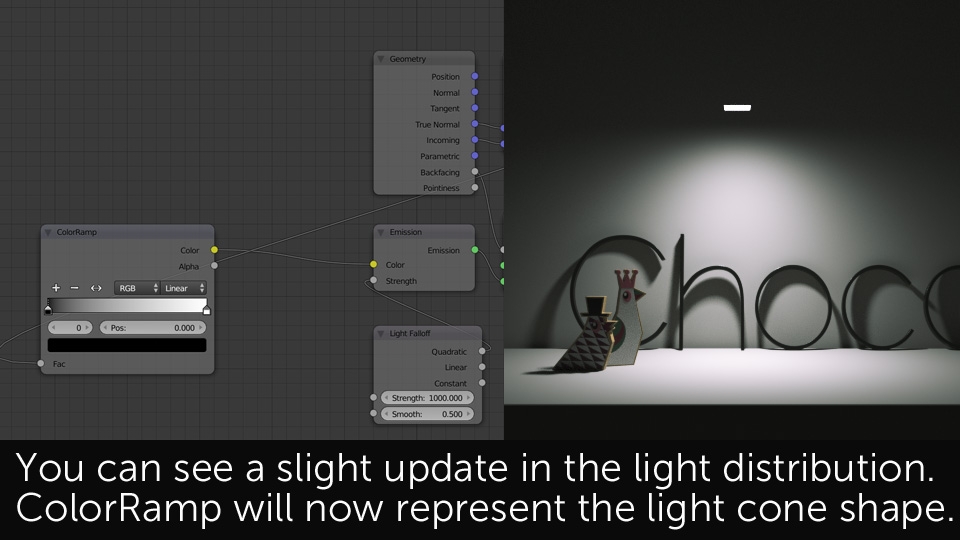
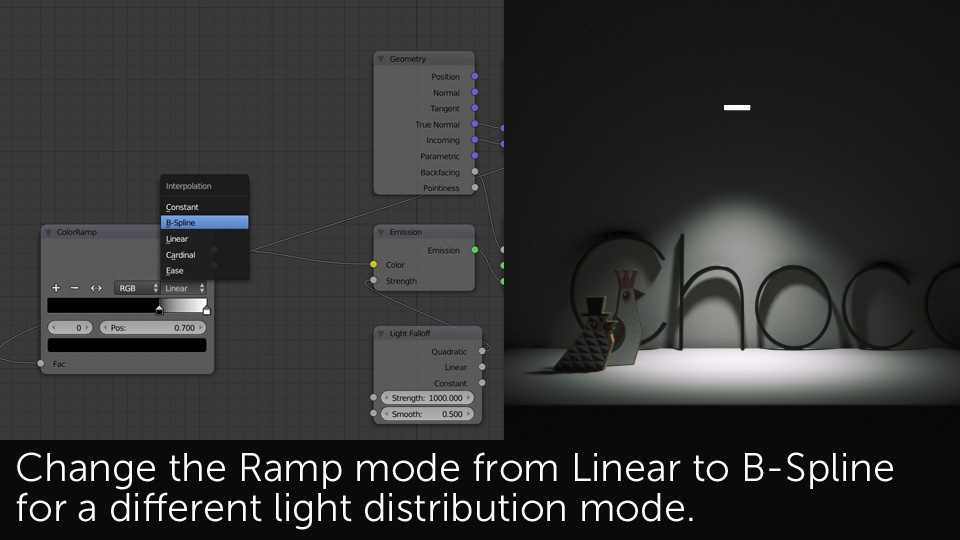
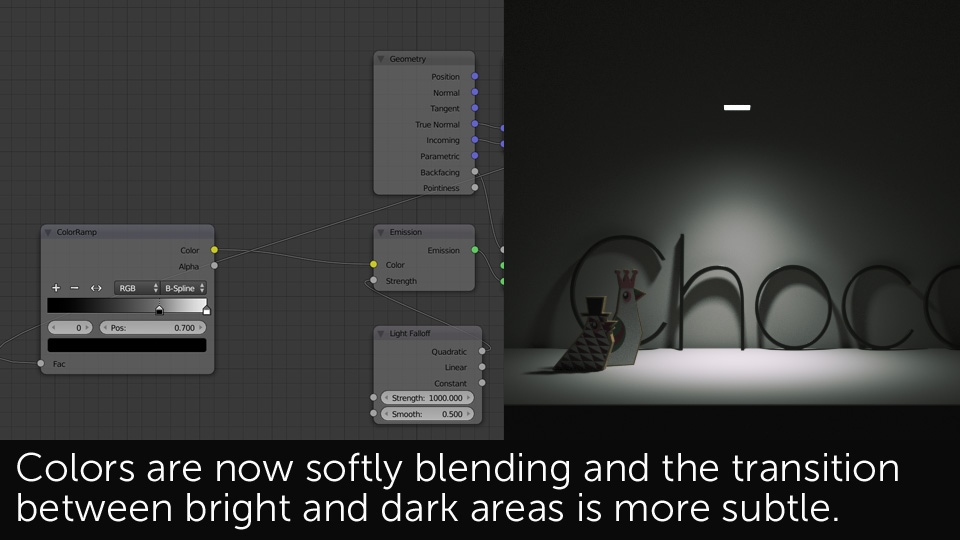
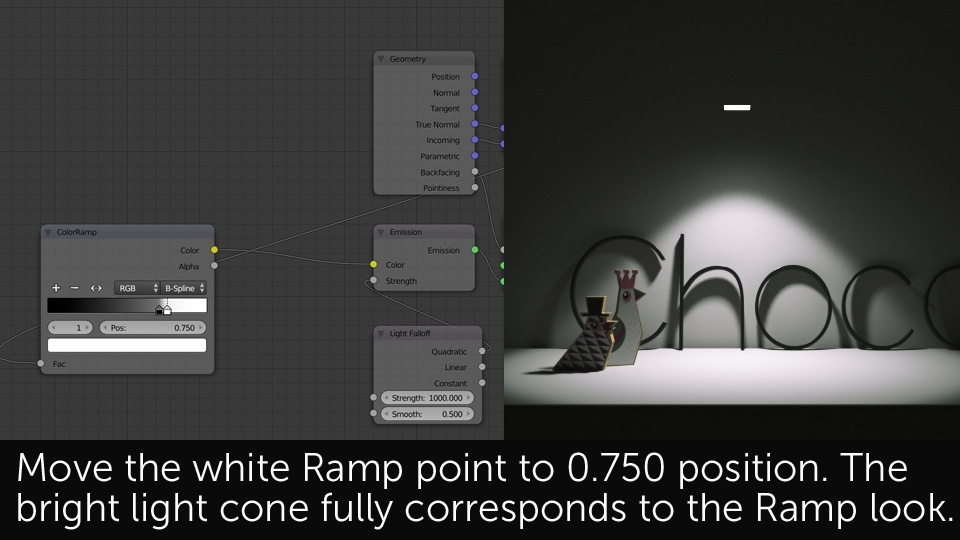
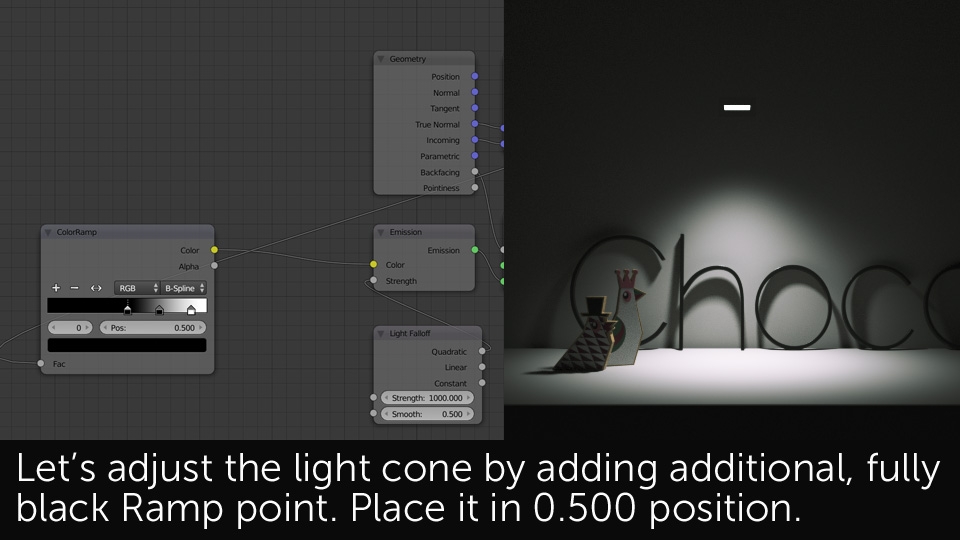
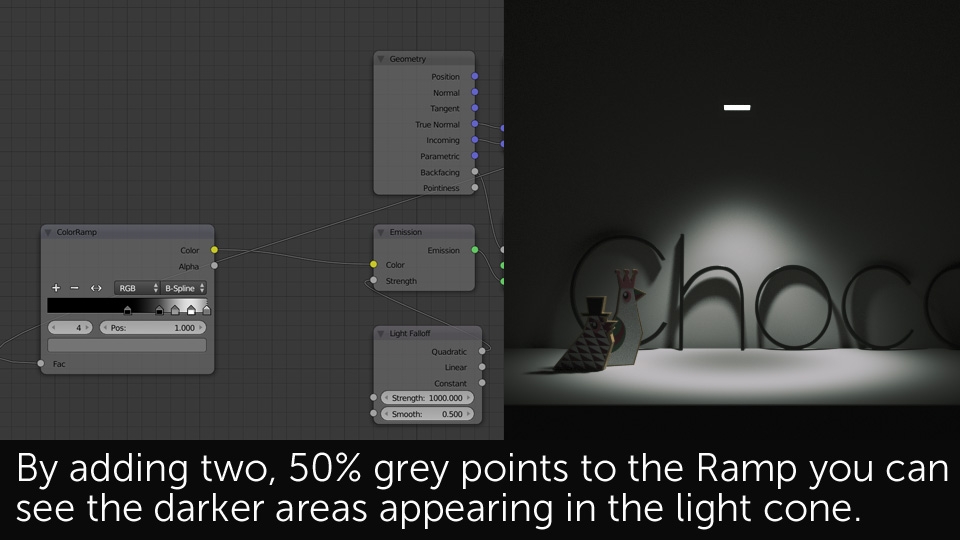
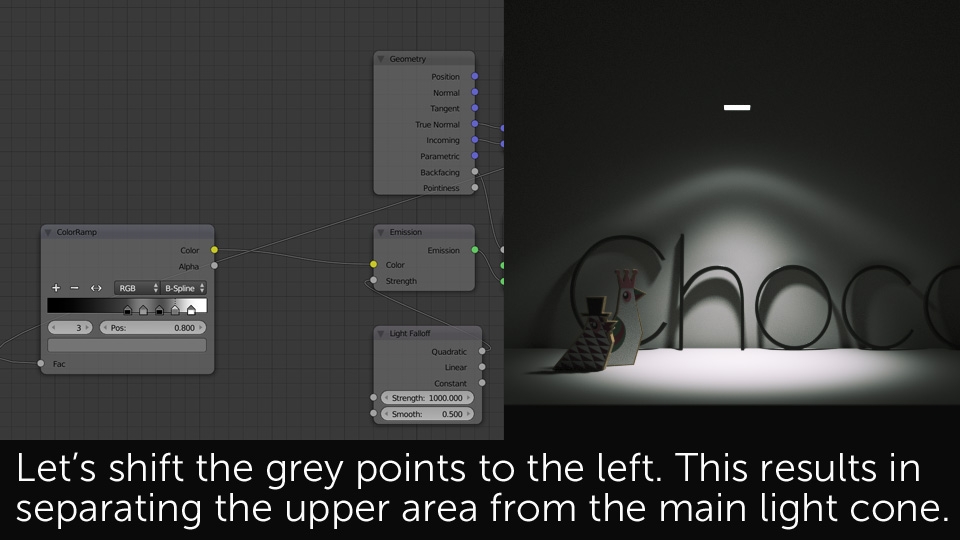
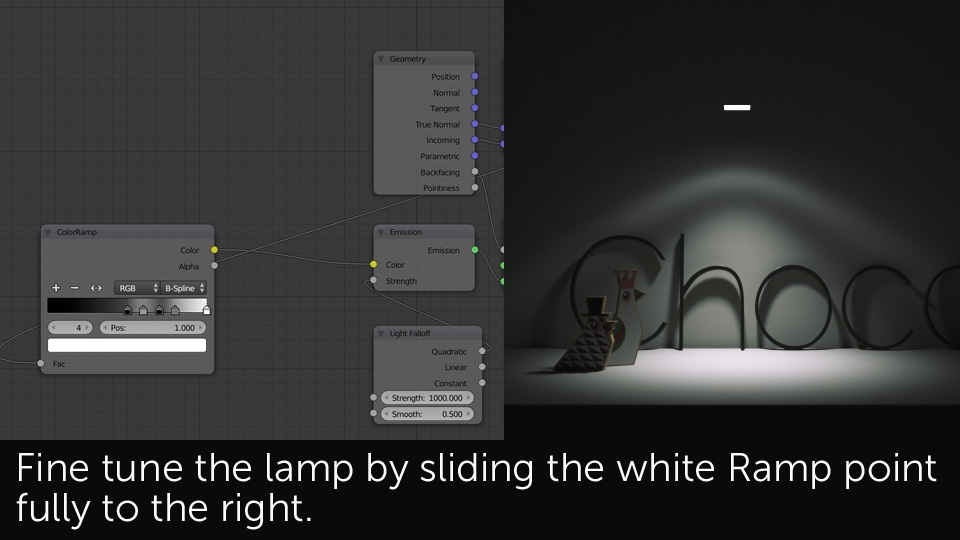
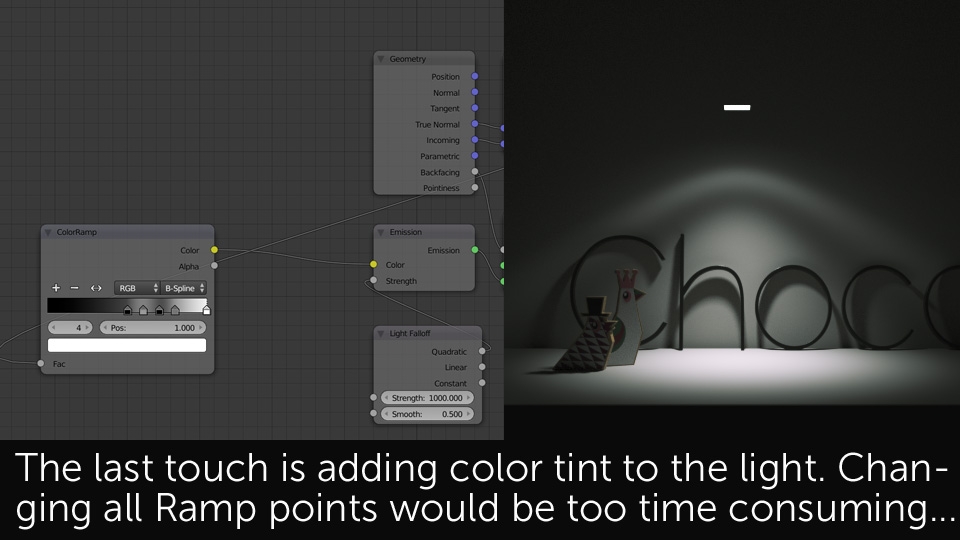
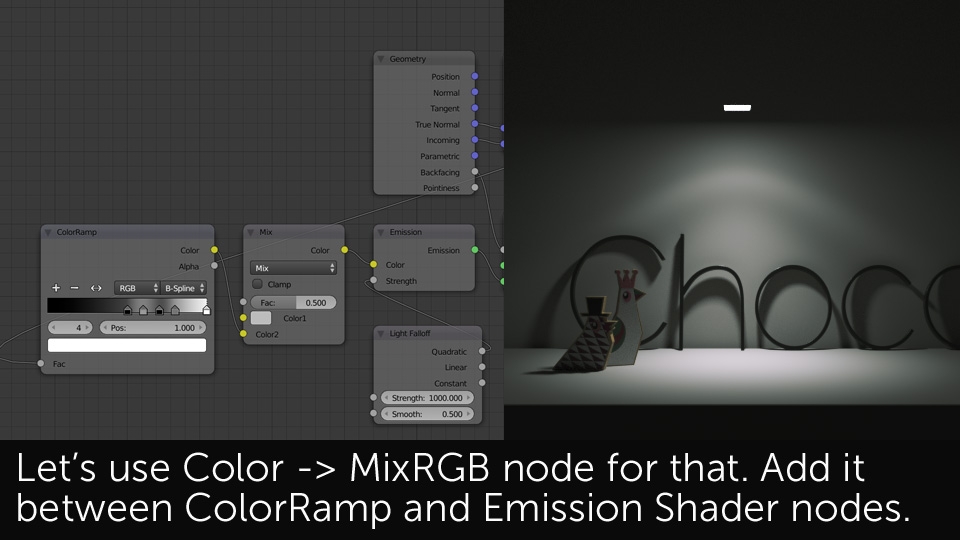
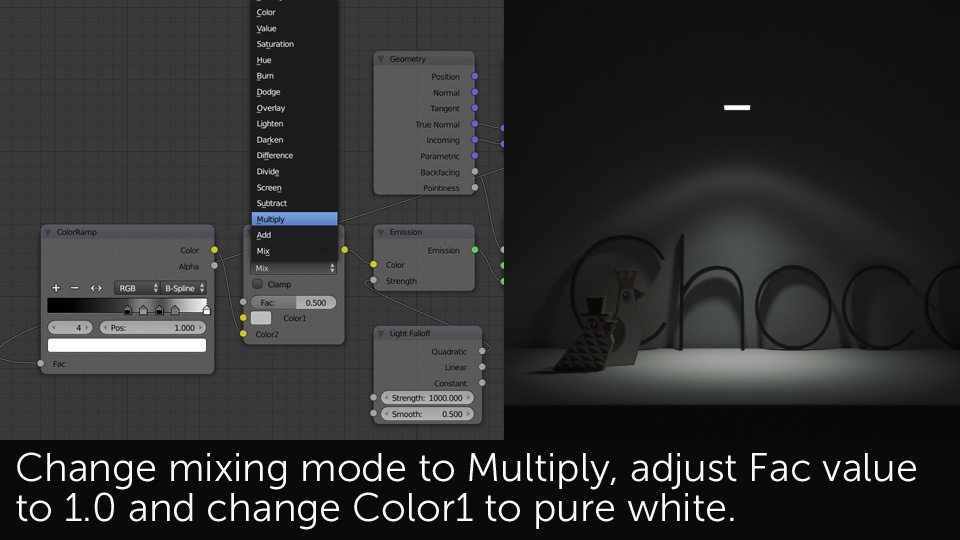
If our set feels not enough, you can always expand it by creating your own, custom built IES lights. As you've probably noticed - we're using Mesh Lights instead of standard Spot Lamps which may seem more intuitive for IES lights. There is a reason for that we try explaining below under the Important Note paragraph. In order to just learn the IES making technique, follow slideshow below:


Please also remember that when working with any type of artificial 3D lights, it is essential to enable Multiple Importance sample option - either in the Shader or Lamp tab. This will help Cycles in denoising any light sources in your scenes.
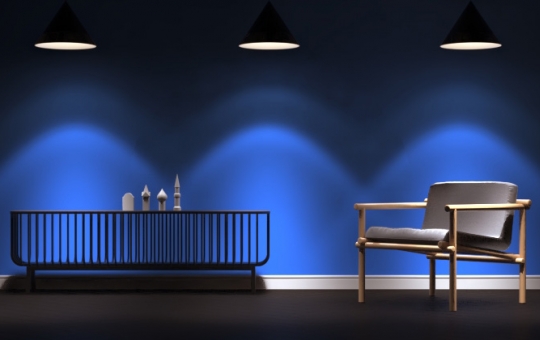
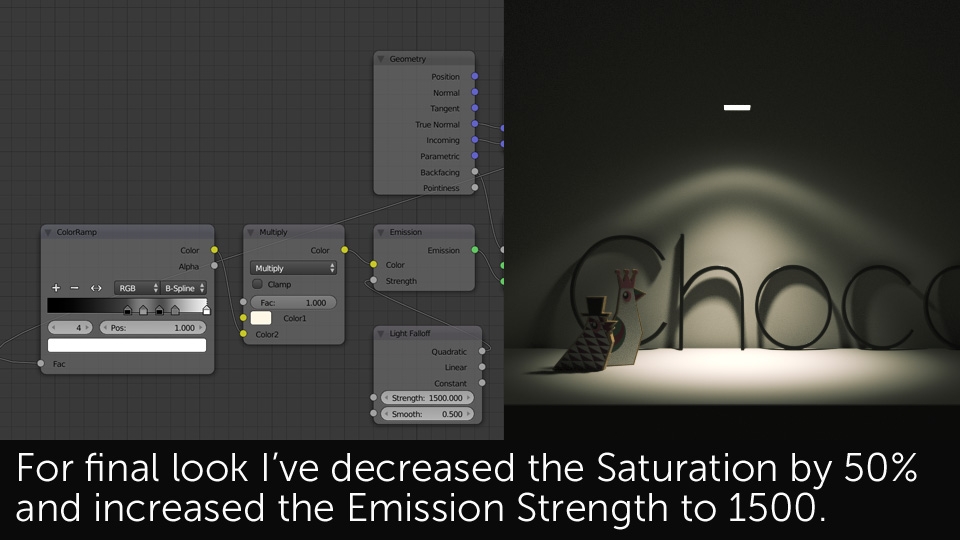
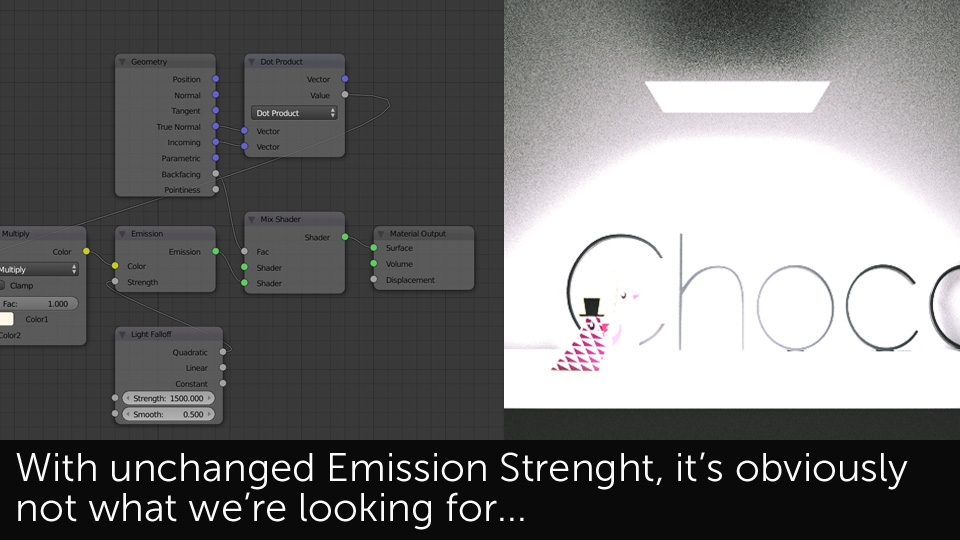
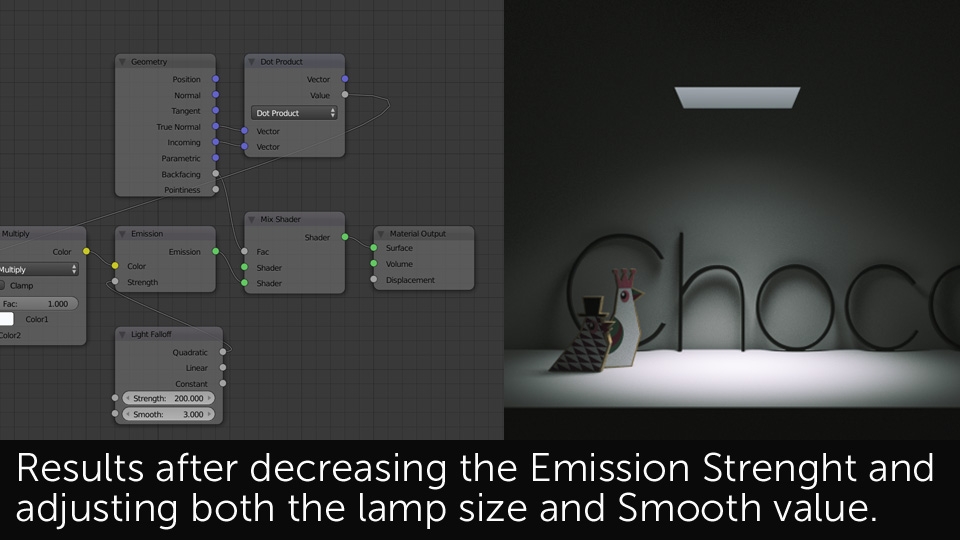
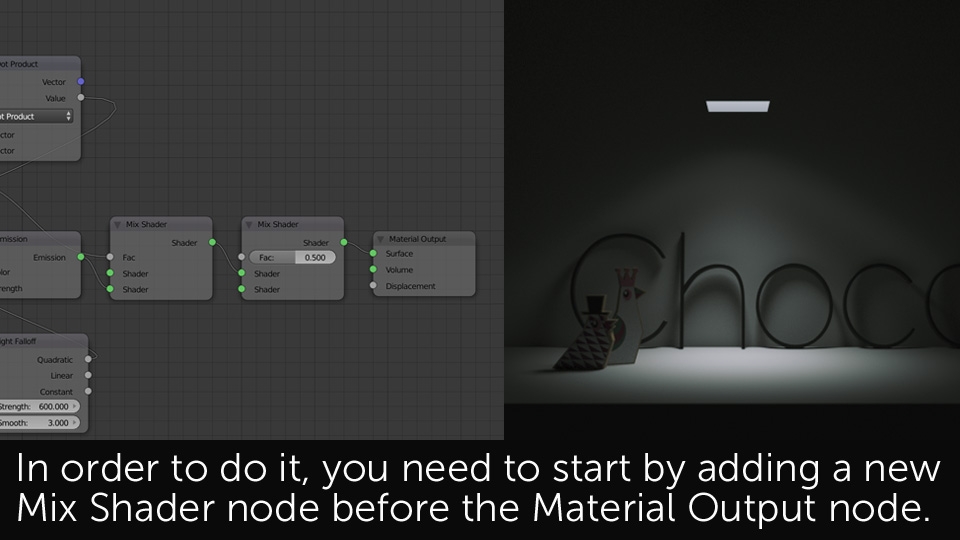
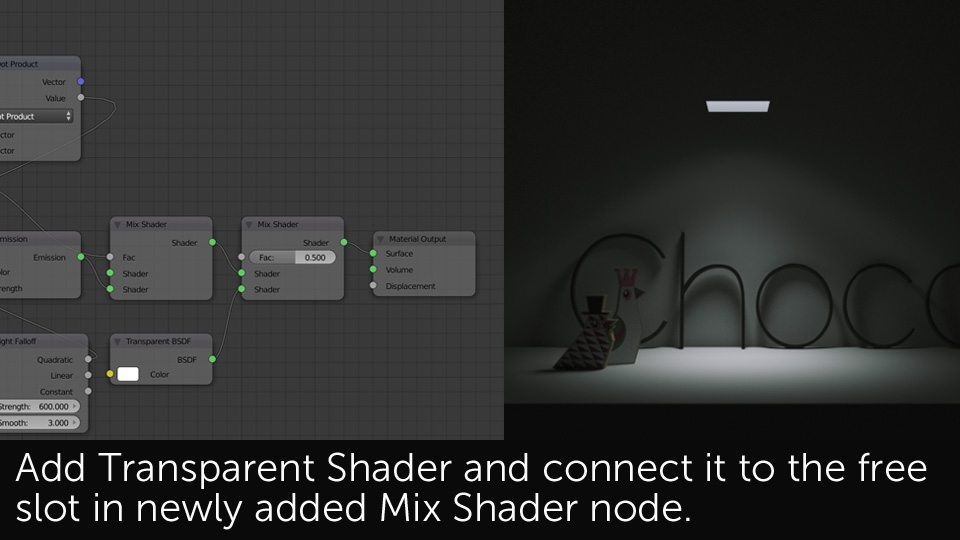
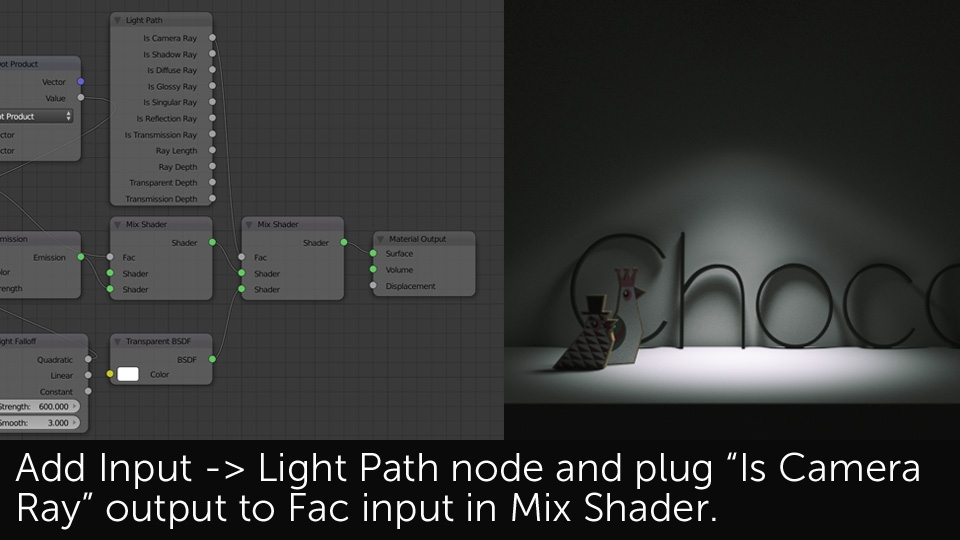
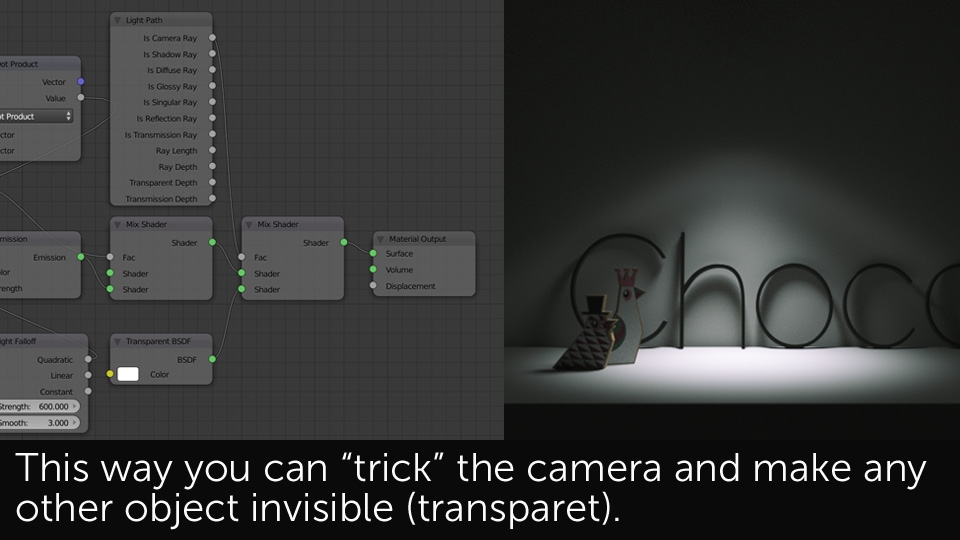
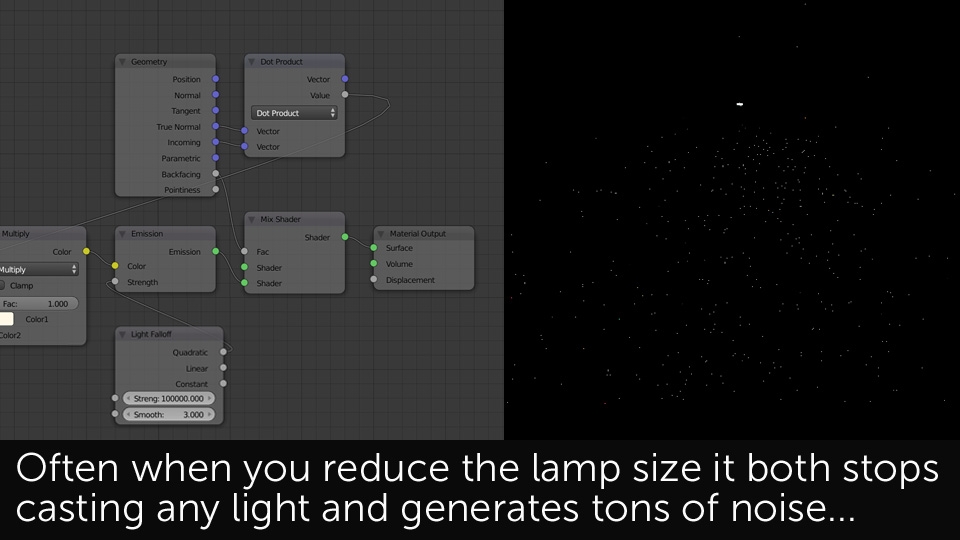
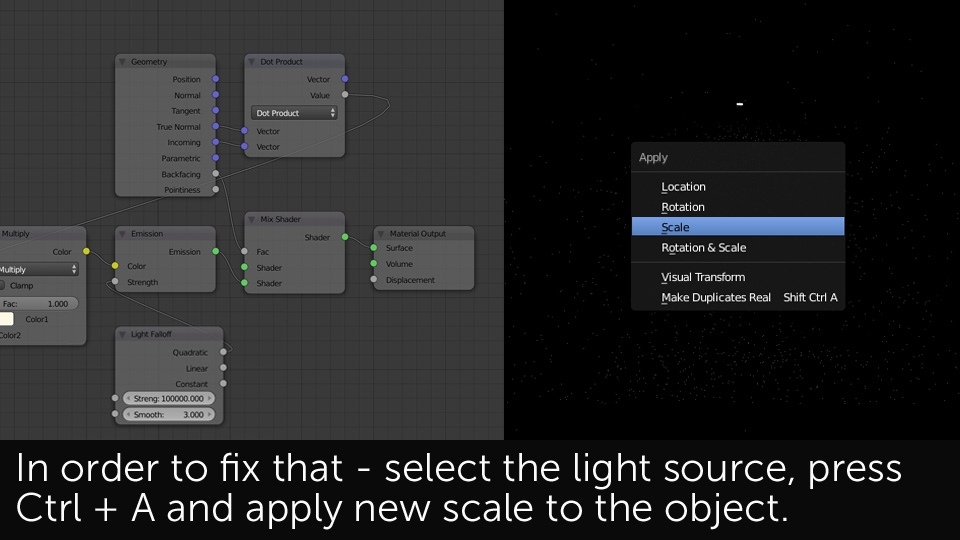
The IES lights created directly in Blender have a big advantage over most of the traditionally created IES light profiles - their shadows can be adjusted in real time. When working with IES lights in Blender there are also a few other issues which have to be covered. That includes hiding the light source point from the camera and solving problems with small sized light sources.


I really hope you find our IES light sets and the technique usable in your daily work. If you have any questions feel free to ask them on the Forum in the Network section above. or just drop a comment below. Remember to visit the chocofur store for more free samples of nicely done, professional 3D assets for Blender and Cycles rendering engine.
Happy Blending!