Hello everyone, this is the first and opening tutorial on chocofur.com and I really hope you'll like it. Since I've received many e-mails and requests from other Blender users, the topic I'd like to cover is creating packshot renderings.
Current Blender and Cycles releases supply us with great tools and give amazing possibilities of creating digital studio setups completely for free. With a significant difference of speed in GPU rendering over traditional, CPU based engines, I really think of Blender as a production ready tool, especially for small or medium size studios dealing with computer generated graphics on a daily basis.
When preparing renderings for the chocofur store, I've managed to test a few different studio setups and I'd like to describe two of them as they work great for me in almost every situation. With many pictures to go, I was looking for something that's really simple and easy to tweak, depending on the model I was working on.
In this part I'll describe only the geometry and camera setup of our virtual studio. For lighting and environment please jump to the next part of this tutorial.

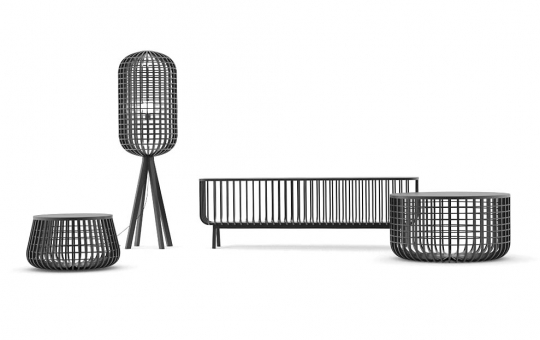
Yes, it's really that simple! Actually this is the background setup I used for creating all the model renderings you can find in the third release of the furniture packs in our store.
With 100% white diffuse color and default background emitting pure white with strength value of 1.0 you get a perfectly plain environment that's capable of catching nice looking shadows if you add any lights later.
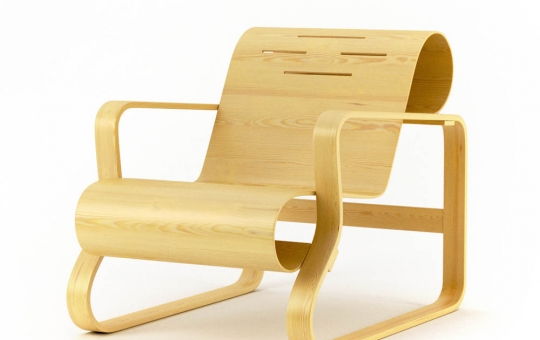
 Bent mesh studio

This setup is a little bit more complex, but if you know the basics of subdivision modelling, it's just a matter of seconds to prepare. Creating a plane surface bent over the actual model gives more "natural" and real-life effect. I personally use this only for artistic looking pictures rather to pure packshot visuals.

I think proper camera setup is one of the most important steps in achieving nice studio effect, however this point is also very often neglected.
For a good looking packshot rendering it is very important to use narrow camera angle - in most cases 70 was the minimum Focal Length value I used for "general" renderings and 40 for close ups. These types of lenses are usually used in professional, photography as they give less distorted results, showing the object in more natural, eye-friendly perspective.

Setting up the studio environment isn't really that complicated but still, there are some details we need to keep an eye on. For me the most important thing is the flexibility and simplicity of everything I do - with projects where you need to produce dozens or even hundreds of pictures, it's really wise to think about the entire process way before you start doing anything.